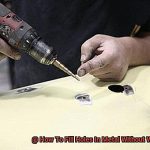
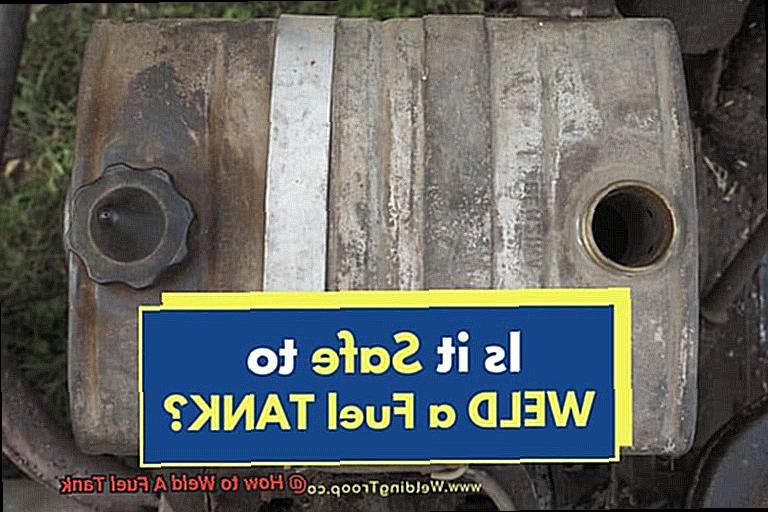
Fuel tanks are an indispensable part of any vehicle or machinery that runs on gasoline or diesel. These tanks are constructed from durable materials such as steel or aluminum, which can handle the weight and pressure of the fuel they contain. However, like any other mechanical equipment, these tanks require maintenance and repairs over time. One common repair is welding a fuel tank when it gets damaged.
The process of welding a fuel tank may seem daunting for many DIY enthusiasts. It necessitates precision, safety precautions, and basic knowledge of welding techniques. But don’t worry – we’ve got your back. In this post, we’ll guide you through the steps required to weld a fuel tank.
First and foremost, we’ll discuss the significance of adhering to safety measures while welding a fuel tank to avoid any mishaps. Next up, we’ll go over the tools and materials required for the welding process. After that, we’ll explain how to properly weld the tank using appropriate techniques while removing any rust or debris inside it before beginning the weld. Finally, we’ll summarize everything and provide some tips on how to ensure a perfect weld.
Whether you’re a DIY enthusiast or a professional welder, come join us on this journey to learn how to safely and efficiently weld a fuel tank.
Preparing the Tank for Welding
Welding a fuel tank may seem like a daunting task, but with the right preparation, it can be done both safely and effectively. The key to success lies in properly preparing the tank for welding. Here’s what you need to know about preparing a fuel tank for welding:
Ensure the Tank is Empty
Contents
- 1 Preparing the Tank for Welding Welding a fuel tank may seem like a daunting task, but with the right preparation, it can be done both safely and effectively. The key to success lies in properly preparing the tank for welding. Here’s what you need to know about preparing a fuel tank for welding: Ensure the Tank is Empty
- 2 Clean the Tank Thoroughly
- 3 Choosing the Right Equipment and Method
- 4 Safety Precautions
- 5 Maintaining Control During Welding
- 6 Avoiding Over-Welding
- 7 Inspecting the Tank for Leaks or Damage
- 8 Conclusion
If you’re planning to weld a fuel tank, it’s essential to ensure the tank is completely empty before beginning any work. This may seem like an obvious step, but it cannot be overstated how crucial it is in terms of safety and successful welding.
Welding on a tank that still contains fuel can result in a dangerous explosion. Even if the welding is being done in an area away from any possible ignition sources, fuel vapors can still travel and ignite from a distant spark. This can not only cause harm to the welder but also to anyone else nearby.
In addition to safety concerns, welding on a tank that still has fuel can also result in poor weld quality. The heat from the welding process can cause the fuel to expand and potentially leak out of any weak points or gaps in the weld. This can compromise the integrity of the tank and lead to fuel leaks or even a catastrophic failure while in use.
To avoid these risks, you must take some necessary precautions. The first step is to drain all of the fuel from the tank and allow it to air out for several hours. Don’t forget to clean the tank thoroughly to remove any remaining traces of fuel or debris that could interfere with the welding process.
Taking the time to empty and prepare the fuel tank before welding is critical in ensuring both safety and quality in the welding process. By following these precautions, you can complete your work without putting yourself or others at risk.
Clean the Tank Thoroughly
One of the crucial steps you must take before starting any welding work is to clean the tank thoroughly. This will ensure that no flammable residue or vapors are present that could result in disastrous consequences. In this blog post, I’m going to guide you through the necessary steps to clean a fuel tank thoroughly before welding.
Step 1: Draining and Drying the Tank
The first step is to drain the tank completely and let it dry. Welding on a fuel-filled tank is a recipe for disaster, as it can lead to explosions or poor weld quality that could compromise the integrity of the tank.
Step 2: Using a Degreaser
Once the tank is empty, use a degreaser to remove any oil or grease inside. This step is vital because it ensures that there’s no flammable residue that could ignite during welding.
Step 3: Removing Rust and Debris
Next, use a wire brush or sandpaper to get rid of any rust or debris inside the tank. Be sure to pay close attention to areas around the weld seam since these parts are susceptible to rust buildup. After removing all rust and debris, rinse the tank with water and let it dry entirely.
Step 4: Inspecting for Coating
Some fuel tanks may have coatings on their interior that could be damaged during cleaning. If you’re unsure whether your fuel tank has a coating, consult with a professional before proceeding with cleaning.
Step 5: Inspecting for Cracks or Holes
After drying the tank completely, inspect it for any cracks or holes that may need repair before welding. If there are any cracks or holes found, they should be fixed before proceeding with welding.
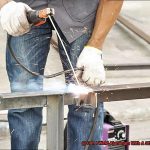
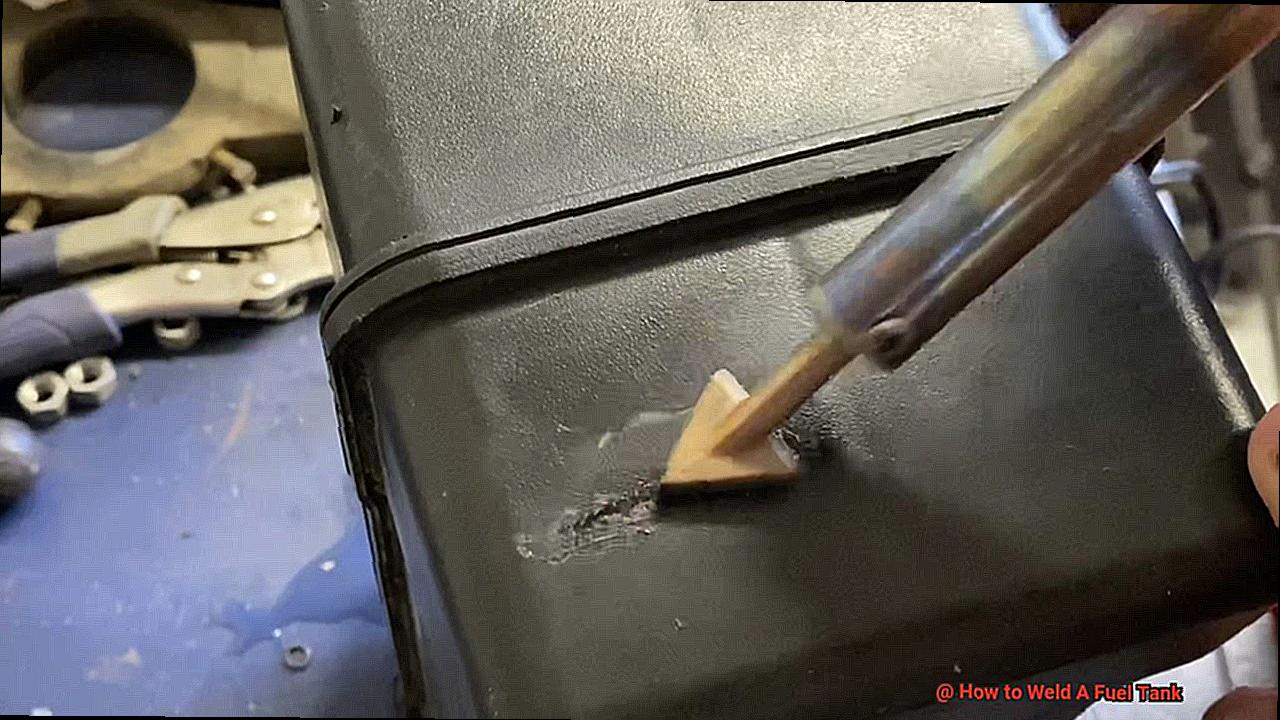
Choosing the Right Equipment and Method
Welding a fuel tank is a task that demands precision and careful consideration. The process can be quite dangerous if not done correctly, which emphasizes the importance of selecting the right equipment and method.
The first step in welding a fuel tank is to choose the appropriate type of welder for the job. MIG welding is a popular choice due to its speed and efficiency, while TIG welding produces a precise and clean weld. Stick welding is also an option for thicker metals. Additionally, selecting the right size and type of welding wire is crucial to ensure that the metal being welded is properly secured.
In addition to the welder and wire, safety equipment such as gloves, goggles, and a protective mask should be worn to prevent any accidents. It’s also essential to have a fire extinguisher on hand just in case.
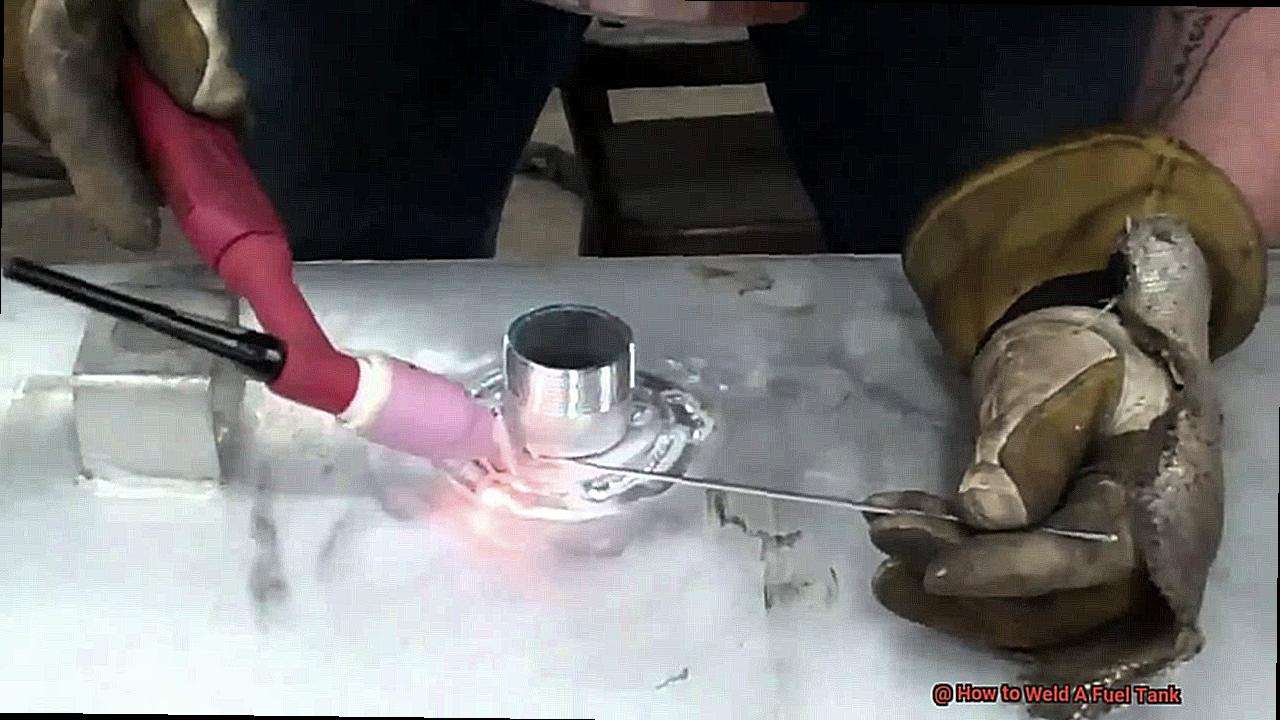
During the actual welding process, techniques like back purging can be used to fill the fuel tank with an inert gas such as argon. This helps to prevent any flammable gases from igniting during welding.
Welding a fuel tank requires a great deal of preparation and attention to detail. Selecting the right equipment and method is key to ensuring a safe and successful outcome. By following proper safety protocols and utilizing the correct tools and techniques, anyone can learn how to weld a fuel tank with confidence.
Safety Precautions
Welding a fuel tank can be a high-risk task that requires careful attention to safety precautions. As an expert in this field, I cannot stress enough how important it is to prioritize safety at all times during this process. To help you stay safe, here are some vital safety measures to keep in mind:
Firstly, make sure the welding area has proper ventilation to prevent hazardous gases from accumulating. In addition, keep fire extinguishers nearby and remove any flammable materials from the area to reduce fire hazards.
Wearing suitable protective gear is essential when working on a fuel tank. Gloves, eyewear, and clothing that covers exposed skin can protect against potential hazards. Proper grounding of the fuel tank is also critical to prevent electrical shocks.
Before beginning the welding process, ensure that the fuel tank is clean and free of any residue left behind from previous use. Any leftover fuel or debris can pose a severe risk during welding.
Finally, it’s crucial to follow proper welding procedures and techniques to minimize the risk of accidents or mistakes. Always err on the side of caution when working with potentially hazardous materials.
Maintaining Control During Welding
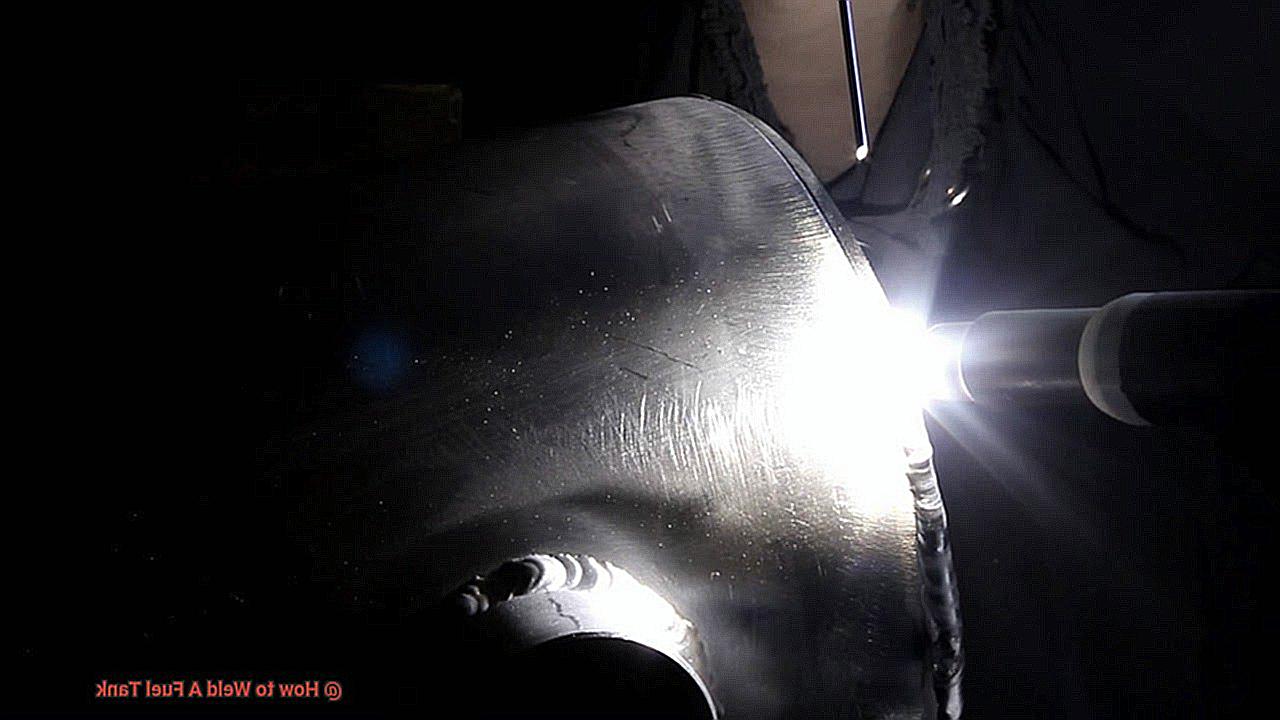
When it comes to welding a fuel tank, safety and precision should always be the top priority. Welding can be a risky task that requires a steady hand and a strong focus. Maintaining control during welding is crucial to ensure that the process is done correctly and safely.
One of the most critical aspects of maintaining control during welding is using proper equipment. A welding machine that can produce stable and consistent arcs, along with appropriate shielding gas, is essential. The welder must also use suitable safety gear, such as gloves, a welding helmet, and protective clothing.
But it’s not just about the equipment. It’s also about the technique. Welding requires both speed and precision, so the welder must have a steady hand while moving quickly. Proper technique involves keeping the electrode at a consistent distance from the workpiece, maintaining a steady pace, and ensuring that the weld puddle is not too large or too small. It’s about finding that perfect balance between speed and accuracy.
Lastly, focus and concentration are essential to maintain control during welding. Distractions or interruptions can lead to accidents and mistakes. The welder should work in a quiet environment free from distractions and take breaks as needed to avoid fatigue. It’s important to keep your mind solely on the task at hand.
By following these guidelines for maintaining control during welding, you can produce high-quality welds on fuel tanks that are both safe and reliable. But remember, it takes practice and patience to develop the necessary skills. Don’t rush it. Take your time, stay focused, and pay attention to every detail.
Avoiding Over-Welding
Welding a fuel tank requires a steady hand, attention to detail, and the right equipment. But one mistake can compromise the entire project: over-welding. This common error can cause warping, melting, and damage to the integrity of the fuel tank, making it unsafe for use. So, how do you avoid over-welding and ensure that your fuel tank is reliable and secure?
Firstly, TIG welding is generally preferred when working on fuel tanks because it allows for precise control over heat input. This level of control ensures that the metal does not overheat and avoids warping or melting. Additionally, using the appropriate filler material and ensuring welds are clean and free from contaminants prevent corrosion and leaks in the future.
Secondly, taking breaks regularly during the welding process is essential. Welding generates a lot of heat, and if you continue without giving the metal time to cool down, you risk overheating and damaging the tank. Besides, taking breaks provides a chance to inspect your work and make necessary adjustments.
Lastly, patience is key when welding a fuel tank. Rushing through the process increases the risk of over-welding or other mistakes. By taking your time, focusing on precision, and following proper welding techniques, you can produce high-quality results every time.
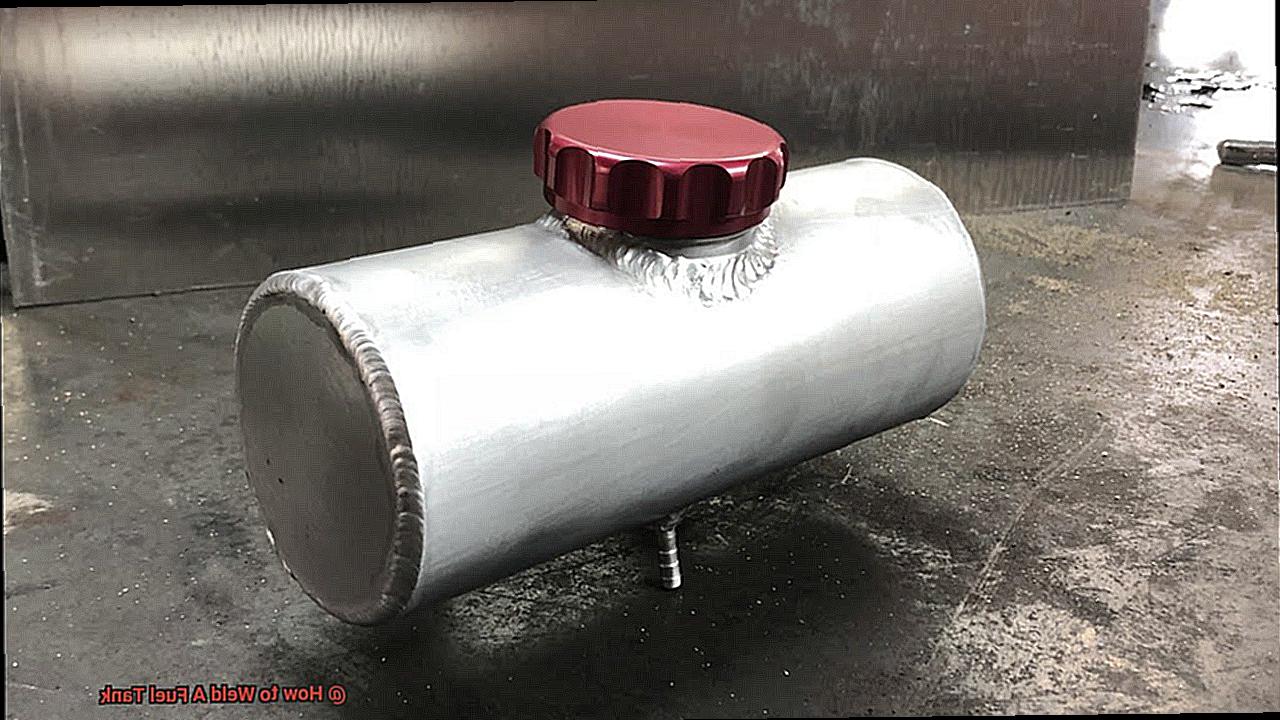
Inspecting the Tank for Leaks or Damage
When it comes to welding a fuel tank, inspecting the tank for leaks or damage is not just a small step in the process. It’s a crucial one that requires careful attention to detail. Any leaks or damage can cause serious safety hazards and compromise the integrity of the tank.
To begin with, you need to ensure that the tank is thoroughly cleaned before inspection. This means removing any dirt, debris, or substances that could interfere with your inspection. Once the tank is clean, visually inspect it for any dents, cracks, or signs of damage.
It’s important to keep in mind that fuel tanks are constructed from various materials such as aluminum, steel, or plastic. Depending on the type of material the fuel tank is made of, the inspection process may vary. For instance, if you’re dealing with a steel fuel tank, you need to check for rust or corrosion. However, if the fuel tank is made of plastic, you need to watch out for cracks or any signs of degradation.
After visually inspecting the tank, you need to pressure test it to check for leaks. This involves pressurizing the fuel tank with air or water and then checking for any leaks. If there are any leaks detected during this step, it’s important to repair them before proceeding with welding.
xdNTiJqSMtc” >
Conclusion
In summary, welding a fuel tank is a task that demands accuracy, safety measures, and some basic knowledge of welding techniques. Safety should always be the top priority when it comes to welding fuel tanks. However, with proper preparation and equipment, you can accomplish it safely and efficiently.
The first step in welding a fuel tank is to make sure that the tank is empty and free of any residual fuel or fumes. Adequate ventilation is also crucial when preparing a fuel tank for welding. Selecting the right size and type of welder for the job, along with choosing the appropriate welding wire, ensures that the metal being welded is securely fastened.
During the actual welding process, back purging techniques can be used to fill the fuel tank with an inert gas such as argon. This helps prevent flammable gases from igniting while welding. Maintaining control during the process is vital to ensure that it’s done accurately and safely.
Lastly, inspecting the fuel tank for leaks or damage after completing the welding process guarantees safety and reliability while using it. By following these guidelines carefully, anyone can learn how to weld a fuel tank confidently.