Are you a DIY enthusiast who loves to create unique and beautiful pieces out of brass?
If so, you might be pondering over whether or not soldering brass is an effective method. Soldering involves heating two metals and applying a filler metal to join them together.
However, when it comes to brass, the process can be a bit more complex. In this blog post, we’ll explore the art of soldering brass effectively.
We’ll discuss the benefits of using this technique, the tools required for the job, and provide step-by-step instructions on how to do it properly. Additionally, we’ll touch upon safety precautions and share some tips and tricks to make your experience more comfortable.
Soldering brass may seem daunting at first, but with the right tools and techniques, you can create stunning pieces that will stand the test of time. So if you’re ready to take your DIY skills up a notch and learn how to solder brass effectively like a pro, look no further.
Keep reading for all the details.
What Kind of Solder Should You Use for Brass?
Contents
Soldering brass is a delicate art, and choosing the right type of solder is the key to achieving a strong and durable bond.
With several types of solders available on the market, it’s crucial to select the one that suits your brass project requirements best. Let’s explore the different types of solder that can be used for brass and the considerations you should take into account when choosing one.
If you’re working on a larger project that requires a robust bond, silver solder is an excellent option. With a high percentage of silver, this type of solder is incredibly strong and durable.
While it’s the go-to choice for plumbing or electrical work, it can be challenging to work with due to its high melting point. For smaller projects or jewelry making, lead-free solder containing a combination of tin and copper is a good choice.
It has a lower melting point than silver solder and is also more affordable. When selecting a solder for brass, keep in mind the project’s size, complexity, and required strength and durability.
For small projects, lead-free solders containing tin and copper are often sufficient. However, for larger projects that require a stronger bond, silver solder is the way to go.
It’s important to note that some types of solders may not adhere well to brass surfaces. In such cases, using flux can help improve adhesion.
Flux is a chemical compound that removes oxidation from the brass surface, allowing the solder to bond better. To sum up, choosing the right solder for your brass project requires careful consideration of factors such as project size, desired strength and durability, and adhesion to brass surfaces.
Silver solder is an ideal choice for larger projects requiring a robust bond, while lead-free solders containing tin and copper are best for smaller projects or jewelry making.
How to Prepare the Brass Surface for Soldering
Soldering brass can be a tricky task, but with proper preparation, you can achieve successful results. In this guide, we’ll walk you through the steps necessary to prepare your brass surface for soldering.
Cleaning the Brass Surface: The First Step to Successful Soldering
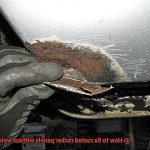
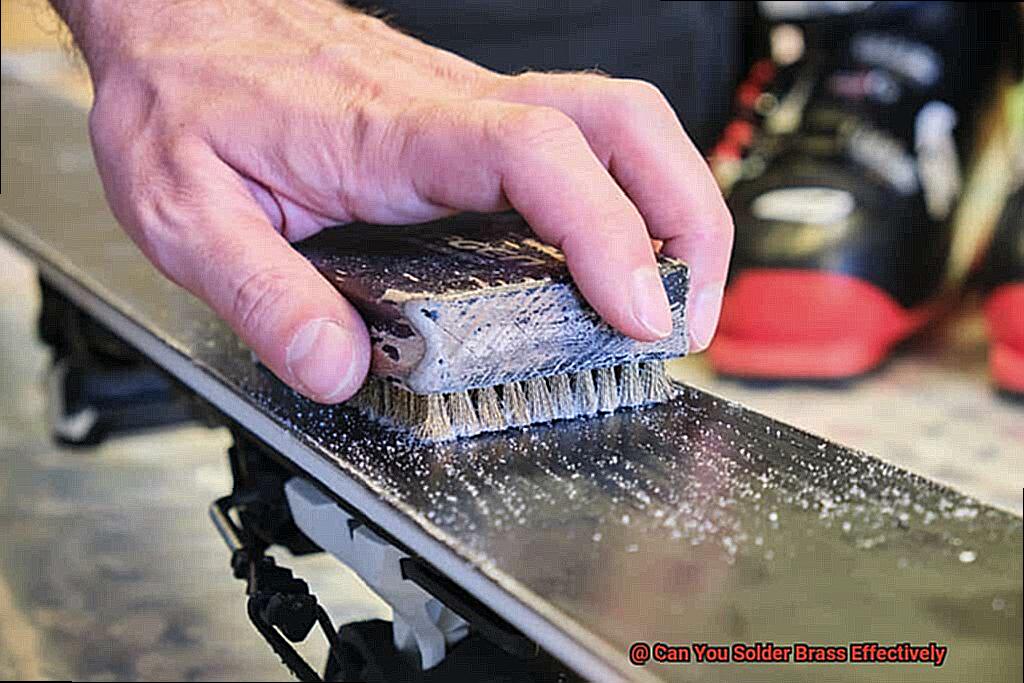
The key to successful soldering is cleaning the brass surface thoroughly. Any dirt, grease, or oxidation on the surface can prevent the solder from bonding correctly. To clean the brass surface, use a degreaser or solvent like denatured alcohol or acetone.
Then, use sandpaper or a wire brush to remove any oxidation on the surface. This will help the solder bond correctly and make sure that your project turns out great.
Fluxing: The Secret Ingredient for Smooth Soldering
After cleaning the surface, it’s time to apply flux. Flux is like a superhero that helps to prevent oxidation and ensure that the solder flows smoothly. A flux is applied to the brass surface using a brush or a cotton swab.
The flux also helps in preventing further oxidation during the soldering process. Not all fluxes work well with brass, so it’s important to use a flux specifically designed for brass or copper. The most common types of fluxes used for soldering brass are borax-based and rosin-based fluxes.
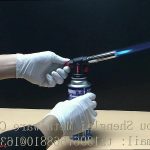
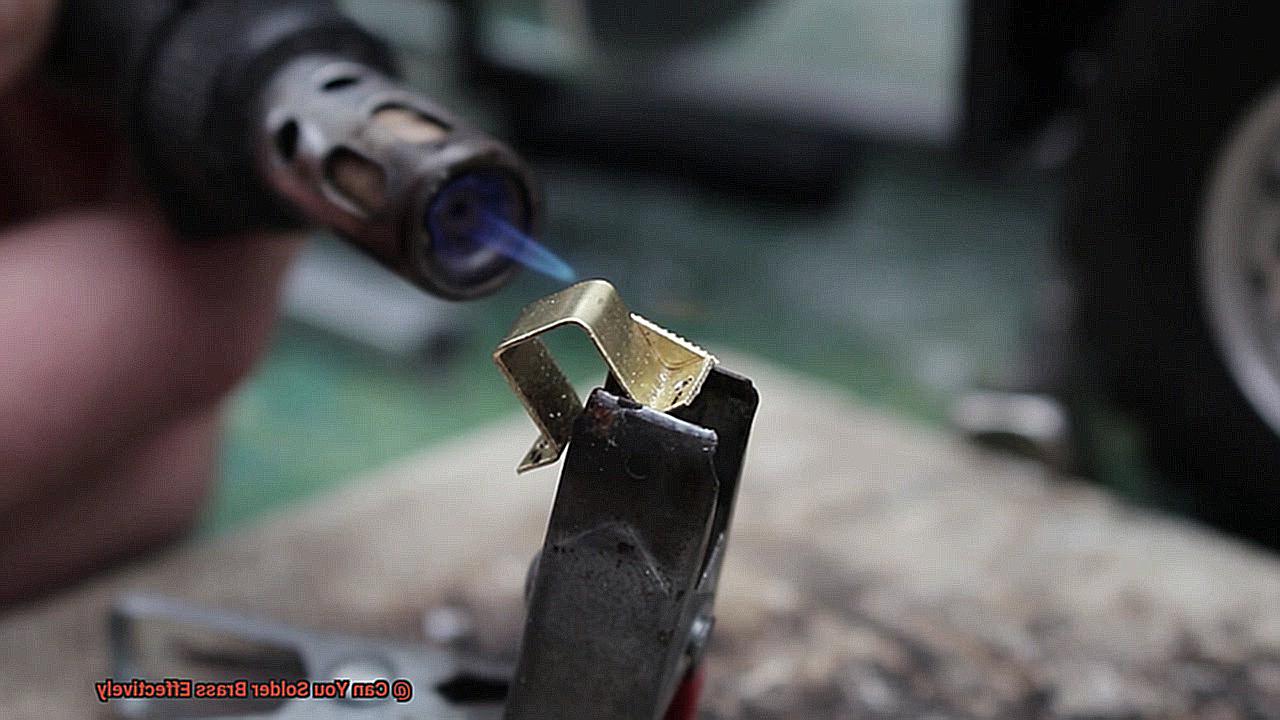
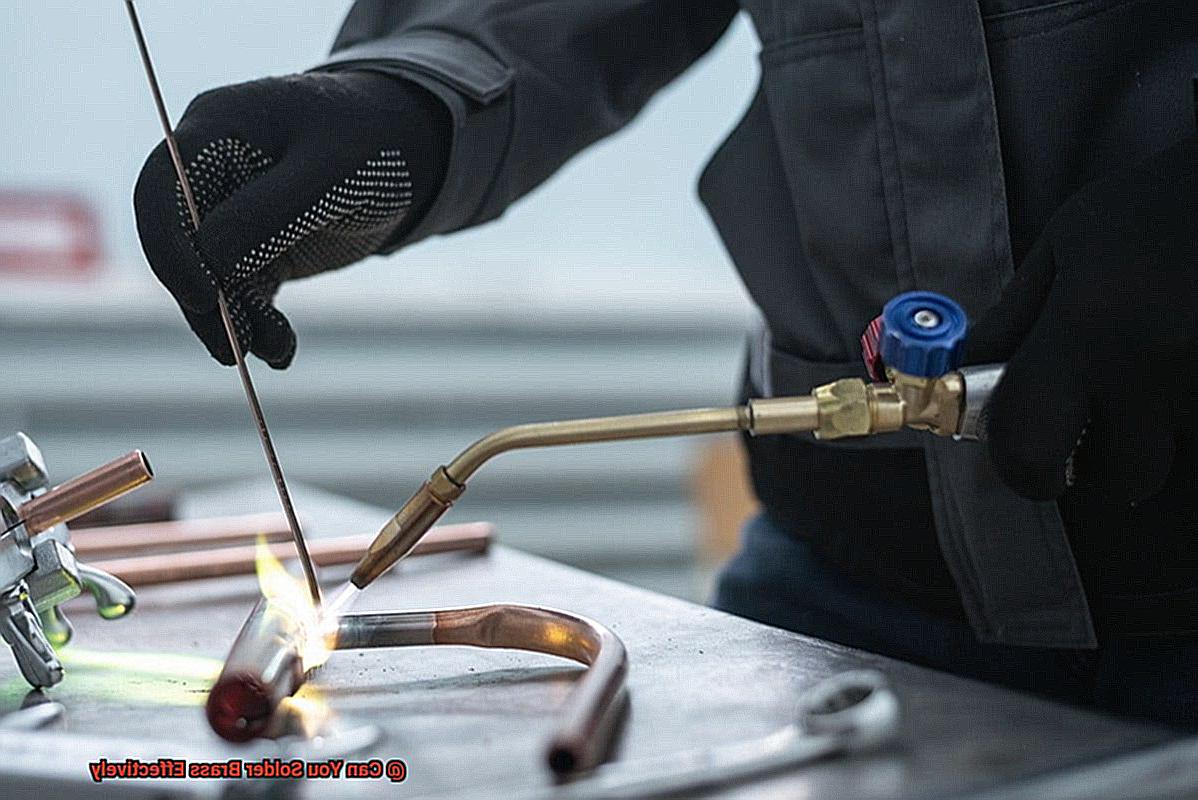
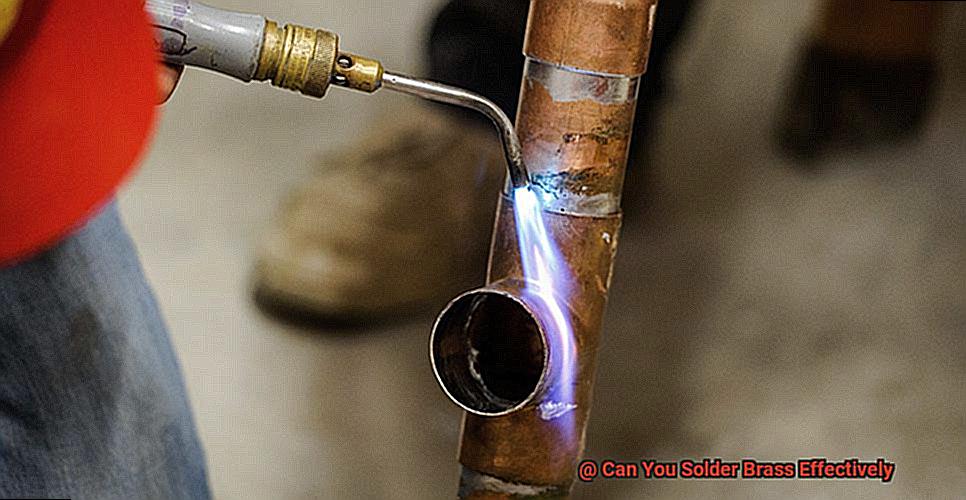
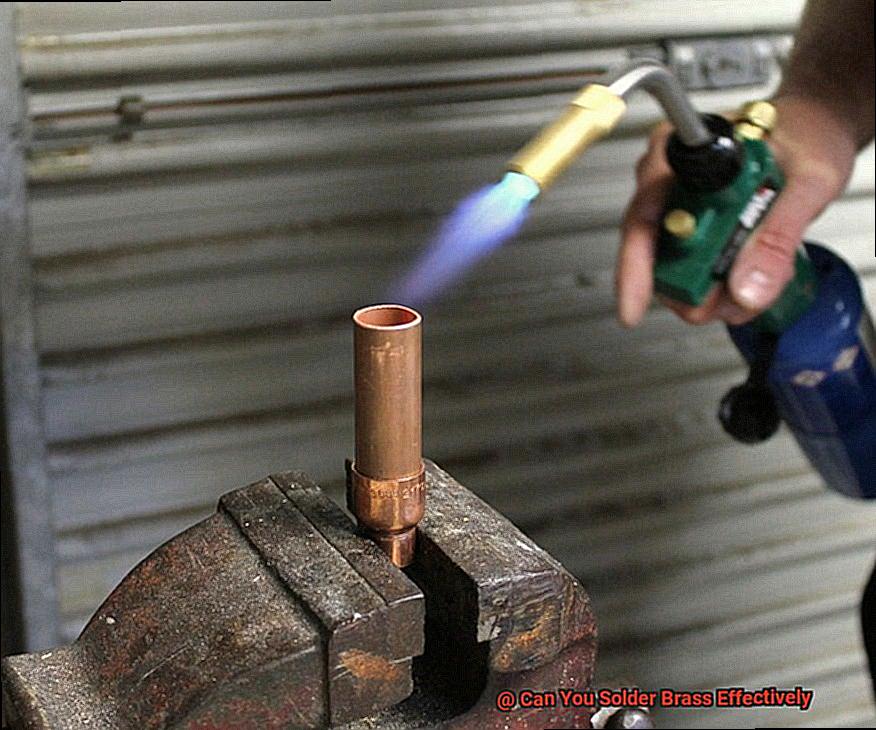
Heating Up: Get Your Torch Ready.
Now it’s time to heat up the brass surface. Brass has a high melting point, so it requires more heat than other metals like copper or silver. Use a torch or soldering iron to heat the brass until it reaches the right temperature for soldering.
This may take longer than you think since brass is not a good conductor of heat. Be patient and make sure to heat it until it’s hot enough to melt the solder.
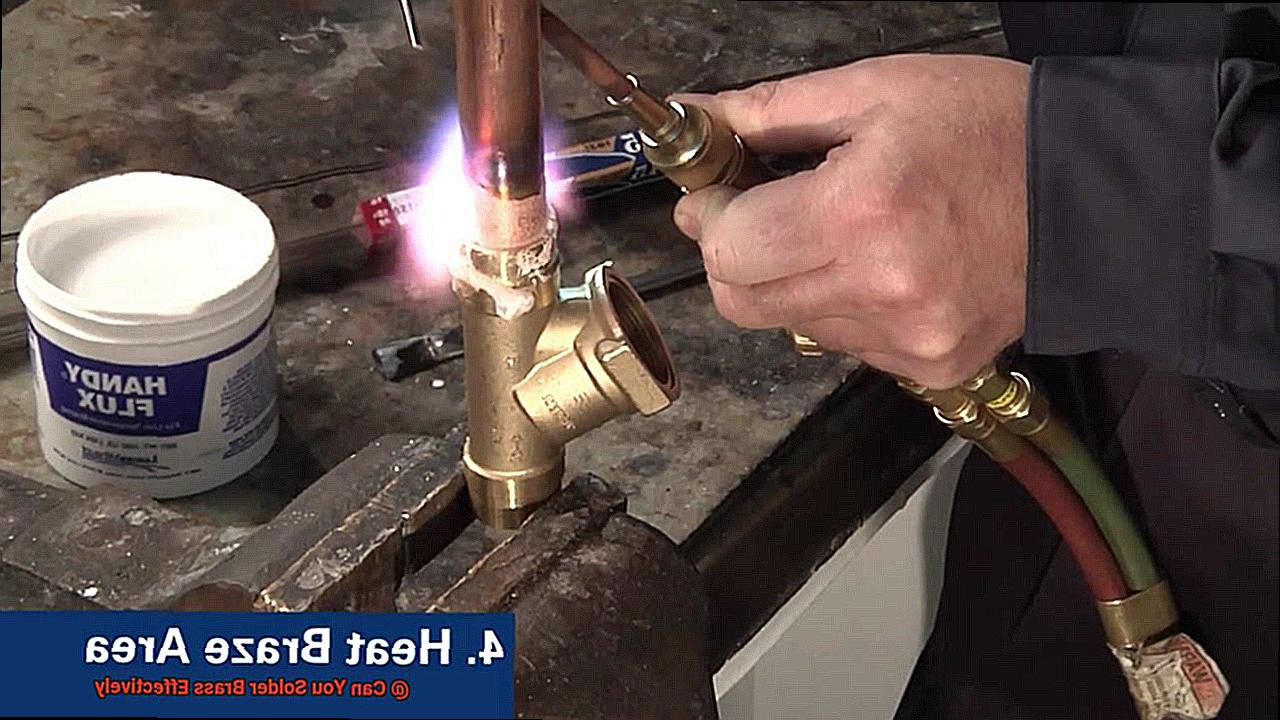
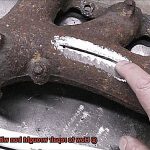
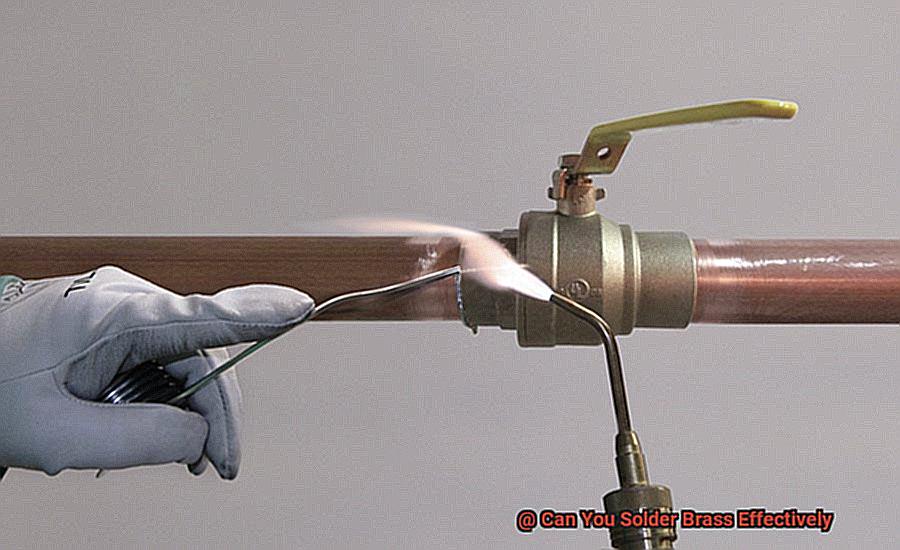
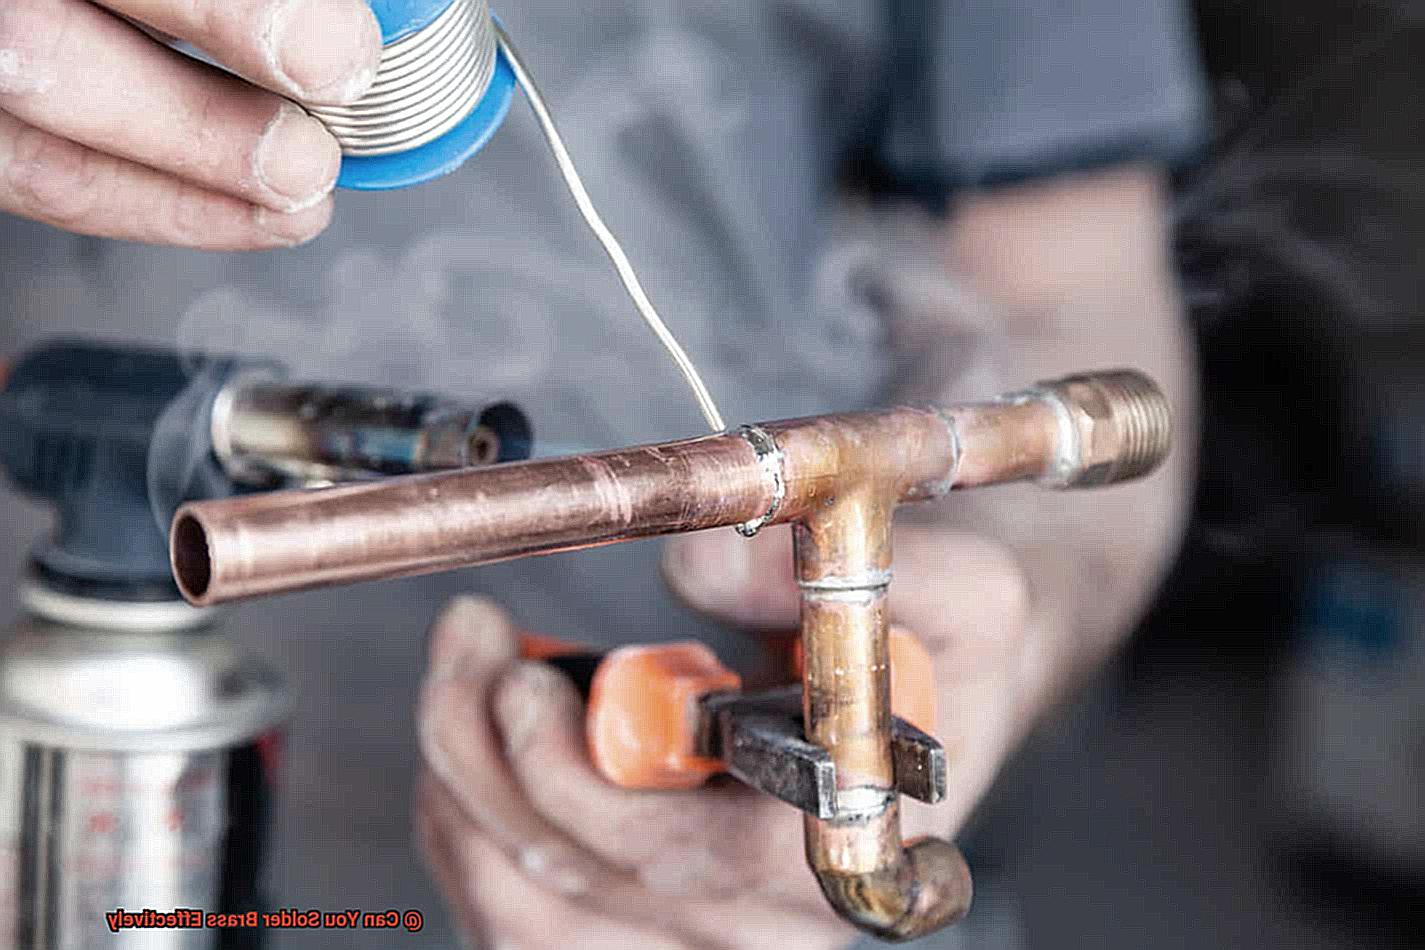
Applying Solder: A Little Goes a Long Way
Once the brass is heated enough, it’s time to apply the solder. Apply a small amount of solder to the tip of your soldering iron or torch and touch it to the brass surface. The heat from your tool will melt the solder and cause it to flow onto the surface.
Be careful not to apply too much solder as this can cause it to flow beyond where it is needed. Remember, a little goes a long way.
Cooling Down: Patience is Key
After applying the solder, allow the brass surface to cool down completely before handling it. This may take longer than you think since brass takes longer to cool down compared to other metals.
Once cooled, inspect the solder joint carefully to ensure that it has formed correctly and has a smooth, even finish. If necessary, use a file or sandpaper to smooth out any rough spots or excess solder.
Tips for Successfully Soldering Brass
Soldering brass is a rewarding and satisfying task that requires proper techniques and tools to achieve a strong and durable solder joint. Brass is a popular alloy used in various applications, including jewelry making, plumbing, and electrical work.
But soldering brass can be tricky due to its high thermal conductivity and low melting point. Here are some essential tips for successfully soldering brass:
Clean the surfaces
The first step in soldering brass is to ensure that the surfaces you plan to join are clean and free of any dirt, oils, or oxidation. Brass tends to oxidize quickly, which can affect the quality of the solder joint. Use a wire brush, sandpaper, or a cleaning solution to remove any debris or tarnish.
Use the right flux
Choosing the right flux is crucial when soldering brass since it helps remove any oxide layer on the surface and makes it easier for the solder to flow. It is recommended to use a flux that is specifically designed for brass, such as a borax-based flux or a liquid flux.
Use the right solder
The type of solder you choose will depend on the application and the temperature at which you plan to solder. For brass, it is recommended to use a low-temperature solder such as tin-lead or tin-silver. It would help if you chose a soft solder with a melting point lower than that of the brass itself.
Heat evenly
When soldering brass, it’s essential to heat the entire area evenly. Use a torch or soldering iron to apply heat to the entire area, not just one spot. Heating unevenly can cause damage to the workpiece or weak joints.
Use the right amount of solder
It’s crucial to apply enough solder to fill the joint but not so much that it drips or runs. Too much solder can weaken the joint and make it more prone to breaking.
Let it cool
After soldering, allow the joint to cool completely before handling it. This will ensure that the joint solidifies properly and is strong enough to withstand wear and tear.
By following these tips, you can successfully solder brass and create strong, long-lasting joints that will hold up over time. Remember always to prioritize safety by wearing protective gear such as goggles and gloves and working in a well-ventilated area.
Can You Solder Brass and Copper Together?
The answer is a resounding yes, but it requires attention to detail and the right materials.
To start, you need to clean both metals’ surfaces thoroughly using a brass or copper cleaner. This is crucial to ensure that there are no oils or contaminants that can prevent the solder from adhering properly.
Selecting the right type of solder is also important. A high-silver content solder such as silver brazing alloy works best for soldering brass and copper together because it has a melting point higher than the metals being joined, ensuring a strong bond.
Additionally, using a flux specifically designed for these metals is crucial. The flux helps to remove any oxides that may form during soldering and promotes proper adhesion of the solder.
One common mistake when soldering brass and copper together is not heating the metals evenly. To avoid this, you must apply heat evenly to both metals to ensure that the solder flows properly and creates a strong bond.
A torch or heat gun can help achieve this. It’s essential to prioritize safety by wearing protective gear such as goggles and gloves while working in a well-ventilated area.
By following these steps, you can successfully solder brass and copper together for a variety of applications such as jewelry making or plumbing.
Can You Solder Brass Jewelry?
Soldering brass jewelry is an art form that requires precision, patience, and the right tools.
As an expert in this field, I can assure you that it is possible to solder brass effectively, but there are some important things to keep in mind. Firstly, cleaning the brass is crucial to ensure that the solder adheres properly.
It’s like preparing a canvas for a painting – you want the surface to be clean and smooth. Use a brass cleaner or a mixture of vinegar and salt to remove any oxidation or tarnish.
Secondly, choosing the right type of solder is key when it comes to brass jewelry. Low-temperature solders such as soft solder or silver solder are ideal because they won’t damage delicate parts of your jewelry.
Stay away from high-temperature solders like brazing rod or welding wire as they can do more harm than good. Thirdly, using the right tools and techniques is essential for achieving clean and effective solder joints.
A small butane torch or a soldering iron can be used to heat the solder and melt it onto the brass. Remember to apply heat evenly and avoid overheating the metal, which can cause warping or discoloration.
Lastly, practice makes perfect. Soldering brass jewelry takes time and patience to master.
Common Issues When Soldering Brass and How to Avoid Them
With careful attention to detail and a few tips and tricks, you can avoid the common issues that often arise during the soldering process. One of the most common issues when soldering brass is oxidation.
The surface of brass is prone to oxidation, which can make it difficult for the solder to adhere properly. To prevent this issue, ensure that you clean the brass thoroughly before starting the soldering process.
Vinegar and salt
You can use a specialized brass cleaner or make your own solution using vinegar and salt. This will ensure that the surface of your brass is clean and ready for soldering.
Overheating
Another challenge you may face is overheating. Brass has a low melting point, so it’s important not to overheat it during the soldering process.
Overheating can cause the brass to warp or become discolored. To avoid this issue, use a lower heat setting on your soldering iron and work quickly to minimize the amount of time that the brass is exposed to heat.
A Poor Fit
A poor fit between the pieces of brass can also cause problems when soldering. If the pieces do not fit tightly together, it can be difficult to get a strong bond with the solder.
To avoid this issue, make sure that the pieces of brass fit tightly together before you start soldering. Sometimes, despite your best efforts, the solder may not stick to the brass properly.
This could be due to poor cleaning or overheating. To avoid this problem, make sure that you clean the brass thoroughly and use a flux designed specifically for brass.
Using Low-quality Solder
Lastly, using low-quality solder can result in weak bonds and poor adhesion. To avoid this issue, choose a high-quality solder that is designed for use with brass.
By following these tips and avoiding these common issues, you’ll be able to create beautiful pieces of jewelry or other brass items with ease. Remember that practice makes perfect, so don’t be afraid to experiment and hone your skills until you are able to create perfect pieces of art every time.
By avoiding common issues such as oxidation, overheating, poor fit, solder not sticking, and using low-quality solder, you’ll be able to create stunning pieces that will last for years to come.
8f-LO5Co2Fw” >
Conclusion
In conclusion, soldering brass is a task that requires the right tools and techniques, but it can be done effectively.
Choosing the appropriate solder type is crucial to create a robust and durable bond. For larger projects, silver solder is ideal, while lead-free solders containing tin and copper are suitable for smaller ones or jewelry making.
Preparing the brass surface by cleaning it thoroughly and applying flux is essential to ensure that the solder adheres correctly. When soldering brass, it’s important to heat the entire area evenly using either a torch or a soldering iron.
Applying enough solder to fill the joint without overdoing it is also critical. After applying the solder, let the joint cool entirely before handling it.
Soldering brass and copper together requires attention to detail and selecting high-silver content solders such as silver brazing alloy. It’s vital to apply heat evenly to both metals and use a flux specifically designed for these metals.
Soldering brass jewelry requires precision, patience, and proper tools like a small butane torch or a soldering iron. Avoid high-temperature solders like brazing rod or welding wire as they can damage delicate parts of your jewelry.
Common issues when soldering brass include oxidation, overheating, poor fit between pieces of brass, weak adhesion due to low-quality solder or poor cleaning. By avoiding these issues and following these tips and tricks, you’ll be able to create stunning pieces of art every time.