Are you in a bind and need to fix a copper pipe or create a one-of-a-kind piece of jewelry?
You might be wondering, can you solder copper? The answer is yes, but it’s important to have the right tools, techniques, and safety precautions in place for successful soldering.
Copper is a versatile metal that’s widely used for its conductivity, durability, and resistance to corrosion. Soldering copper involves using a special filler metal called solder to join two copper surfaces together.
In this blog post, we’ll explore everything you need to know about soldering copper. We’ll cover the different types of solder and flux required for various applications, as well as the essential tools needed to get started.
Safety precautions are also crucial when working with hot metals. We’ll delve into some common uses for soldering copper such as plumbing repairs, electronics, and jewelry making.
You’ll learn how to prepare your copper surfaces for optimal bonding, how to heat your solder correctly, and how to create a strong connection between copper pieces. Whether you’re an avid DIY enthusiast or a professional plumber, our guide will provide you with all the information you need about soldering copper.
Get ready to take your skills up a notch and impress those around you with your newfound expertise.
Properties of Copper and the Challenges of Soldering
Contents
Copper is an exceptional conductor of electricity and heat, which makes it a popular material in various industries such as electronics, plumbing, and construction.
However, soldering copper can be quite challenging due to its unique properties. In this post, we’ll dive into the properties of copper and the challenges they pose when soldering.
One of the most prominent properties of copper is its high thermal conductivity. Although this feature can be beneficial when you want to heat up copper quickly to begin soldering, it can also present a challenge.
Copper conducts heat quickly and efficiently, making it difficult to heat up the area around the solder joint without overheating the entire piece. If you’re not careful, the metal can easily overheat, causing oxidation or even melting.
Another challenge when soldering copper is its oxide layer. When exposed to air, copper reacts and forms a layer of oxide on its surface that can prevent the solder from sticking to the copper.
This layer can also cause the joint to become weak and brittle over time. To overcome this challenge, it’s crucial to clean the copper thoroughly before soldering using sandpaper or a wire brush to remove the oxide layer and create a clean surface for the solder to adhere to.
Furthermore, copper has a high melting point which makes it more difficult to melt the solder onto the surface. It’s essential to use a high-temperature soldering iron or torch to ensure that the solder melts properly and creates a strong bond with the copper.
Additionally, using flux can help lower the melting point of copper and aid in the flow of solder. To successfully solder copper, you’ll need several tools and materials, including safety equipment such as gloves and eye protection.
It’s vital to use the correct type of solder for your job; lead-free solder is recommended for plumbing applications.
Tools and Materials Needed for Soldering Copper
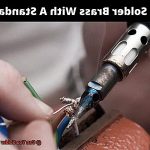
With the right tools and materials, you can create a strong bond between copper pieces that will last for years. First up is the soldering iron, your trusty sidekick on your soldering journey.
This handheld tool heats up and melts the solder, allowing it to flow into the joint and create a robust connection between your copper pieces. Next on the list is flux, the superhero swooping in to save the day.
This chemical solution removes oxides from the copper surface, ensuring better adhesion and preventing oxidation during the soldering process. Solder is another essential material needed for successful copper soldering.
It’s like the glue that holds everything together because it melts at a lower temperature than copper, making it easy to flow into the joint and bond with the copper pieces. Copper fittings are also crucial for connecting two pieces of copper piping or tubing.
These fittings come in various sizes and shapes, including elbows, tees, and couplings. Think of them as puzzle pieces that fit perfectly together to create a seamless connection.
Before diving into soldering, don’t forget about cleaning materials. Common cleaning items such as sandpaper, wire brushes, and emery cloth work like magic erasers by wiping away any impurities that could hinder the bonding process.

Last but not least, safety gear is crucial when it comes to soldering. Think of these items as your superhero cape and shield protecting you from harm.
Always wear appropriate safety gear such as safety glasses, gloves, and protective clothing to protect yourself from burns or other injuries.
Step-by-Step Guide to Soldering Copper
Whether you’re fixing plumbing pipes or creating beautiful metalwork, this essential technique will help you achieve your goals.
So, let’s dive into this step-by-step guide and get ready to become a copper-soldering superhero. Before we begin, make sure you have all the necessary tools at hand.
You’ll need a propane torch, flux, solder, sandpaper, gloves, and goggles. Once you’ve got everything you need, it’s time to clean the copper surfaces thoroughly.
Think of it as giving your copper a spa treatment – use sandpaper to remove any dirt, corrosion or oxidation from the copper surfaces.
Next, apply a thin layer of flux to the areas of copper that will be joined.
This magical ingredient helps the solder flow evenly and prevents the copper from oxidizing during the heating process.
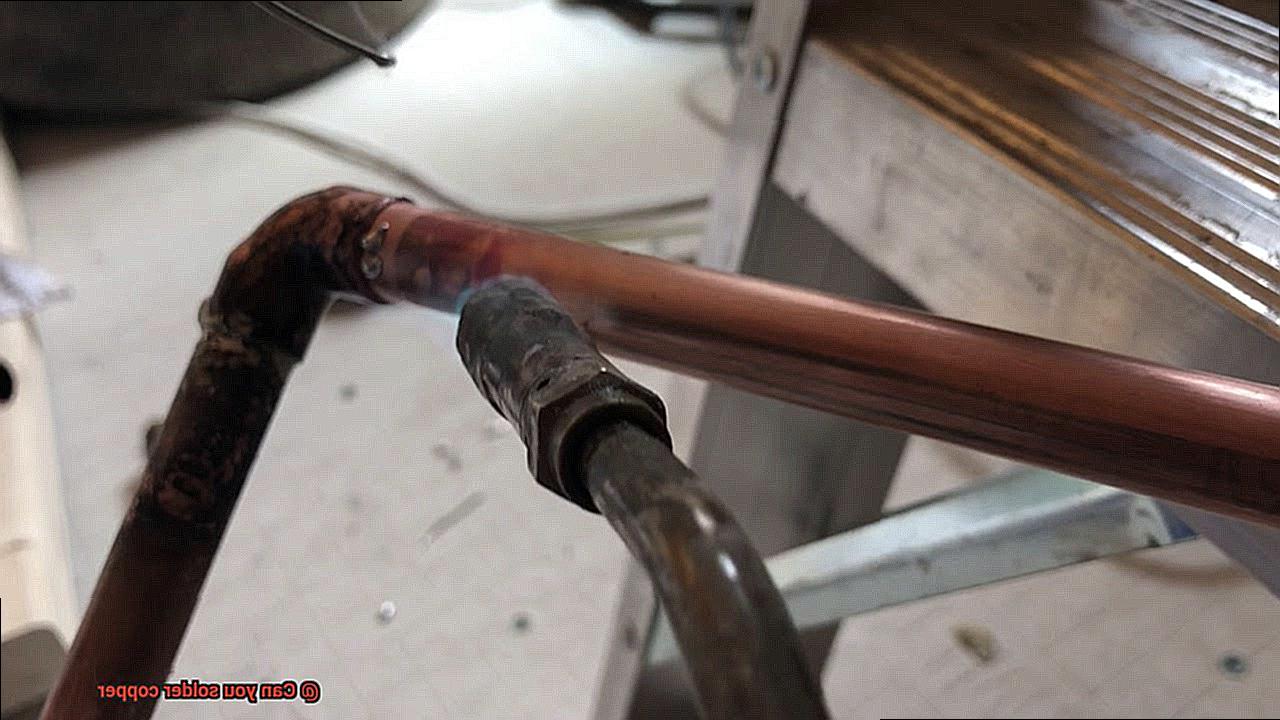
Now it’s time to heat things up.
Use your propane torch to heat both pieces of copper evenly until they reach the melting point of the solder. This will ensure that the solder melts and forms a strong bond between the copper surfaces.
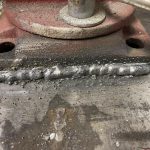
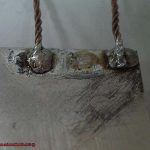
Once both pieces of copper are hot enough, it’s time to apply the solder. Carefully apply the solder to the joint until it melts and flows into it.
This creates a strong bond between the two pieces of copper.
After applying the solder, allow it to cool and harden for a few minutes.
Then use sandpaper or a wire brush to clean up any excess flux or solder that may have dripped onto the surrounding area. And there you have it.
A seamless connection between two pieces of copper that will last for years to come. Remember always to wear safety equipment like gloves and goggles when working with hot metals and flames.
With just a few tools and techniques, you can achieve seamless connections that will last for years.
Tips for Successfully Soldering Copper
Soldering copper is a craft that requires patience, attention to detail, and a few essential tips and techniques to achieve a clean and strong joint. Whether you’re a seasoned welder or new to the craft, mastering the art of soldering copper can be a rewarding experience.
Here are some tips for successfully soldering copper:
Clean the Surface
The first and most crucial tip for soldering copper is to ensure the surfaces you’re joining are clean. Copper surfaces must be free from any dirt or debris that can cause the solder to not adhere correctly, resulting in weak joints. Use sandpaper or a wire brush to clean the surface thoroughly, and don’t forget to wear gloves and eye protection.
Use the Right Type of Flux
Using the correct type of flux is also essential for successful soldering. Flux helps clean the surface and promote adhesion between the copper and the solder. There are different types of flux available, such as acid-based, rosin-based, and water-soluble flux. Selecting the appropriate flux for your project can make a significant difference in achieving optimal results.
Temperature Control
Temperature control is another critical factor when soldering copper. The temperature must be hot enough to melt the solder but not too hot that it causes damage to the materials being joined. Using a temperature-controlled tool like a soldering iron or torch can help regulate the heat and prevent any mishaps.
Choose the Right Type of Solder
Selecting the right type of solder is also vital for successful soldering. The proper selection of solder depends on various factors, including strength, durability, and safety requirements. Lead-free solders are recommended as they are safer for your health and the environment.
Practice Makes Perfect
Finally, practice makes perfect when it comes to soldering copper. It takes time and experience to master this skill, so it’s essential to practice on scrap materials before attempting any significant projects. Don’t be discouraged if your first attempts don’t turn out perfectly, keep practicing and refining your technique until you achieve consistent results.
In conclusion, successfully soldering copper requires attention to detail, patience, and practice. With these tips in mind, you can confidently tackle any soldering project involving copper.
Common Mistakes to Avoid when Soldering Copper
Soldering copper can be a daunting task, but with the right knowledge and preparation, it can be a simple and rewarding process.
However, there are a few common mistakes that can easily be avoided to ensure your copper soldering project is a success. One of the most significant mistakes people make when soldering copper is not cleaning the surface properly before beginning.
Copper is notorious for oxidizing quickly, making it hard for the solder to adhere correctly. It’s like trying to bond two dirty surfaces together – it just won’t work.
To avoid this pitfall, it’s crucial to clean the surface thoroughly with a wire brush or sandpaper before starting. Another common mistake that can lead to weak joints is using the wrong type of flux.
Flux is an essential part of the soldering process as it helps remove any oxidation on the surface and allows the solder to flow smoothly. However, not all fluxes are created equal.
Using the wrong type can lead to poor results and weak joints. It’s important to choose a flux specifically designed for copper.
Applying too much heat to the joint is another mistake that novice solderers often make. This can cause the copper to warp or even melt, ruining your project entirely.
To prevent overheating, use a low-temperature solder and apply heat evenly across the joint. Finally, failing to use enough solder is another mistake that can lead to weak joints prone to breaking.
Adequate soldering fills the joint entirely and creates a robust bond between two copper pieces. In summary, by avoiding these common mistakes and following proper soldering techniques, anyone can successfully solder copper and create strong, long-lasting joints.
Remember always to clean your surface properly, use the right flux, apply heat evenly, and use enough solder.
L3IrH15z-Fs” >
Conclusion
To sum it up, the answer to the question “Can you solder copper?”
is a resounding yes. Soldering copper may seem daunting at first, but with the right tools, techniques, and safety precautions, anyone can achieve successful results.
Copper is an incredibly versatile metal used in various industries such as electronics, plumbing, and construction due to its conductivity, durability, and resistance to corrosion. Soldering copper can be challenging due to its unique properties such as high thermal conductivity and oxide layer formation.
However, by using sandpaper or wire brushes to remove oxidation layers before applying flux to prevent oxidation during heating process and using high-temperature soldering iron or torch one can overcome these challenges.
To successfully solder copper one needs several tools such as propane torches or soldering irons for heating up the surfaces of copper pieces evenly until they reach melting point of solder; flux which removes oxides from the surface of copper and aids in flow of solder; and fittings which connect two pieces of copper piping or tubing.
Safety gear like gloves and goggles are also crucial when working with hot metals. It is essential to practice on scrap materials before attempting significant projects to refine technique until consistent results are achieved.
With proper knowledge and preparation anyone can confidently tackle any soldering project involving copper.