Have you ever gazed at a car or any other smooth surface and marveled at its flawless finish? You might be surprised to learn that the secret behind this is wet sanding. Wet sanding is a widely-used technique in various industries, including automotive, woodworking, glass, and metalworking. It’s an effective way to remove imperfections from a surface and achieve a shiny and smooth finish.
Wet sanding has become increasingly popular as a means of giving automobiles, boats, and planes that coveted brand new look. The process involves using water-soaked sandpaper to evenly remove the top layer of the surface. This not only eliminates any uneven spots but also minimizes swirl marks or scratches. Some people even find wet sanding therapeutic due to its calming and satisfying nature.
However, don’t be fooled into thinking that wet sanding is an easy process. You need to know which grits to use and how much pressure to apply depending on the surface you’re working on. It’s also crucial to recognize when it’s time to stop before over-sanding causes damage.
But fear not. With proper knowledge and the right tools, you can use wet sanding to achieve impeccable finishes on any surface. In this blog post, we’ll delve deeper into what wet sanding is, how it works, and its applications across different industries. By the end of it all, you’ll have all the information you need to create stunning finishes without any pesky imperfections.
So, let’s find out.
Benefits of Wet Sanding
Contents
Wet sanding might just be the solution you need. From the automotive to woodworking industries, wet sanding is a technique that offers numerous benefits over dry sanding.
One of the most significant advantages of wet sanding is its ability to produce a smoother finish. By using water to lubricate the surface, dust and debris generated during sanding are efficiently flushed away, preventing them from clogging the abrasive paper. This results in more contact between the sandpaper and the surface, producing a smooth finish that is hard to achieve with dry sanding.
But wait, there’s more. Wet sanding is also less likely to cause scratches or swirl marks on the surface being sanded. The water acts as a lubricant, reducing friction between the abrasive paper and the surface. This decreases the likelihood of leaving behind unsightly marks.
Another major benefit of wet sanding is that it reduces the amount of dust produced during sanding. In industries like automotive refinishing, where dust can be hazardous to health and spoil paint jobs, this is particularly important. Wet sanding produces a slurry of water and debris that can be quickly washed away, keeping your workspace clean and safe.
Lastly, wet sanding is also more efficient than dry sanding. The water helps keep the abrasive paper cool, preventing it from overheating and losing its effectiveness. Additionally, it protects the surface being sanded from overheating, reducing the risk of damage.
In conclusion, wet sanding is an effective technique that produces outstanding results on a wide range of materials. Whether you’re working on a car or a wooden piece of furniture, wet sanding has numerous benefits over dry sanding that make it a preferred choice in various industries.
Types of Sandpaper for Wet Sanding
When it comes to wet sanding, selecting the right type of sandpaper is crucial to achieving the desired results. Wet sandpaper is specially designed to be used with water, which helps to keep the surface being sanded cool and prevents clogging of the sandpaper.
There are several types of sandpaper suitable for wet sanding, each with its own unique grit level and purpose. The three most commonly used types of wet sandpaper are silicon carbide, aluminum oxide, and diamond abrasive.
Silicon carbide is a tough and sharp abrasive that’s perfect for wet sanding metal surfaces. Its versatility lies in its range of grit levels from coarse to fine. This makes it ideal for various types of projects.
Aluminum oxide is another popular choice for wet sanding, particularly in automotive applications. It’s durable and long-lasting, making it perfect for sanding hard materials like metal and fiberglass. It also produces a consistent scratch pattern that can be easily buffed out for a smooth finish.
Now, let’s talk about the king of all wet sandpapers – diamond abrasive. It may be the most expensive option, but it’s also the most effective. Made with industrial-grade diamonds, it’s perfect for smoothing out rough surfaces and removing deep scratches or imperfections. Diamond abrasive is typically reserved for high-end automotive restoration projects or in the aerospace industry.
Specialized options are also available for specific applications. For instance, you can find wet sandpapers designed specifically for use on clear coats or for polishing plastic surfaces.
To sum up, choosing the right type of wet sandpaper for your project depends on the material being sanded and the desired outcome.
Make sure to select a grit level that matches the level of abrasion needed and use high-quality paper that won’t break down or clog during use.
The Process of Wet Sanding
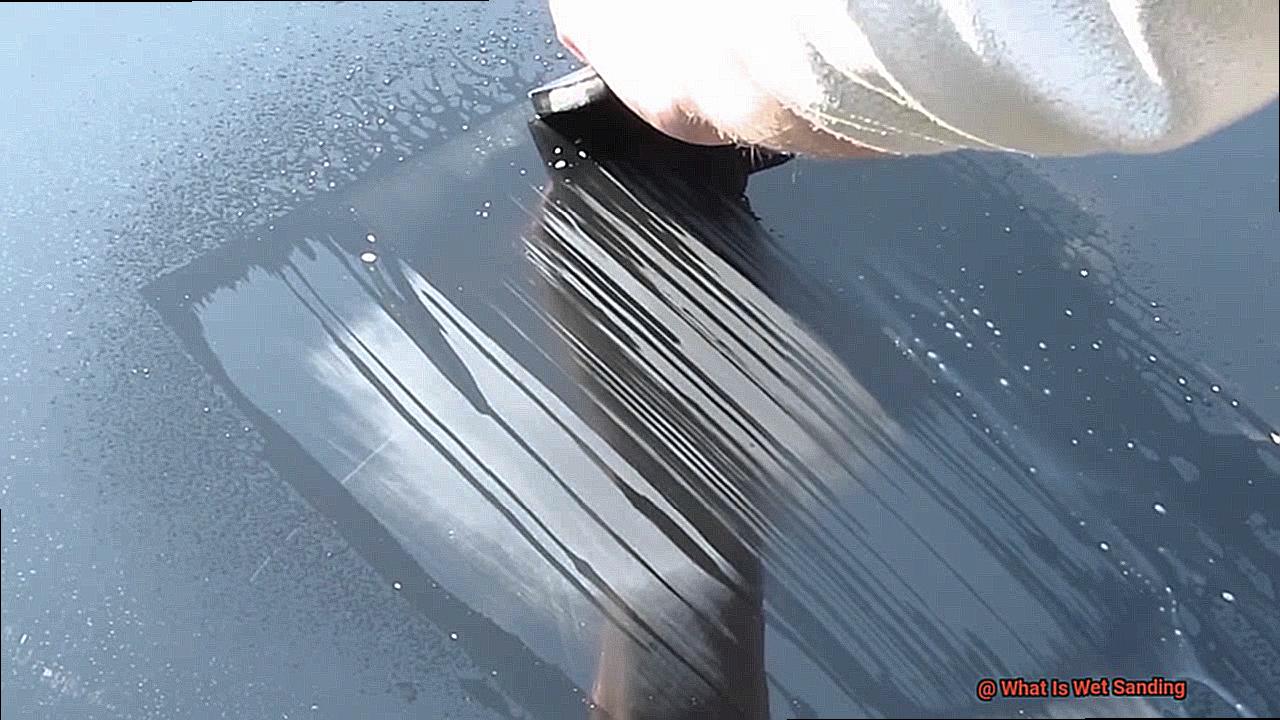
If you’re looking to achieve a smooth, polished finish on your car’s paint job, wet sanding is the way to go. This process involves using abrasive sandpaper, water, and a sanding block to gently remove blemishes and provide a sleek finish. Here’s how it’s done.
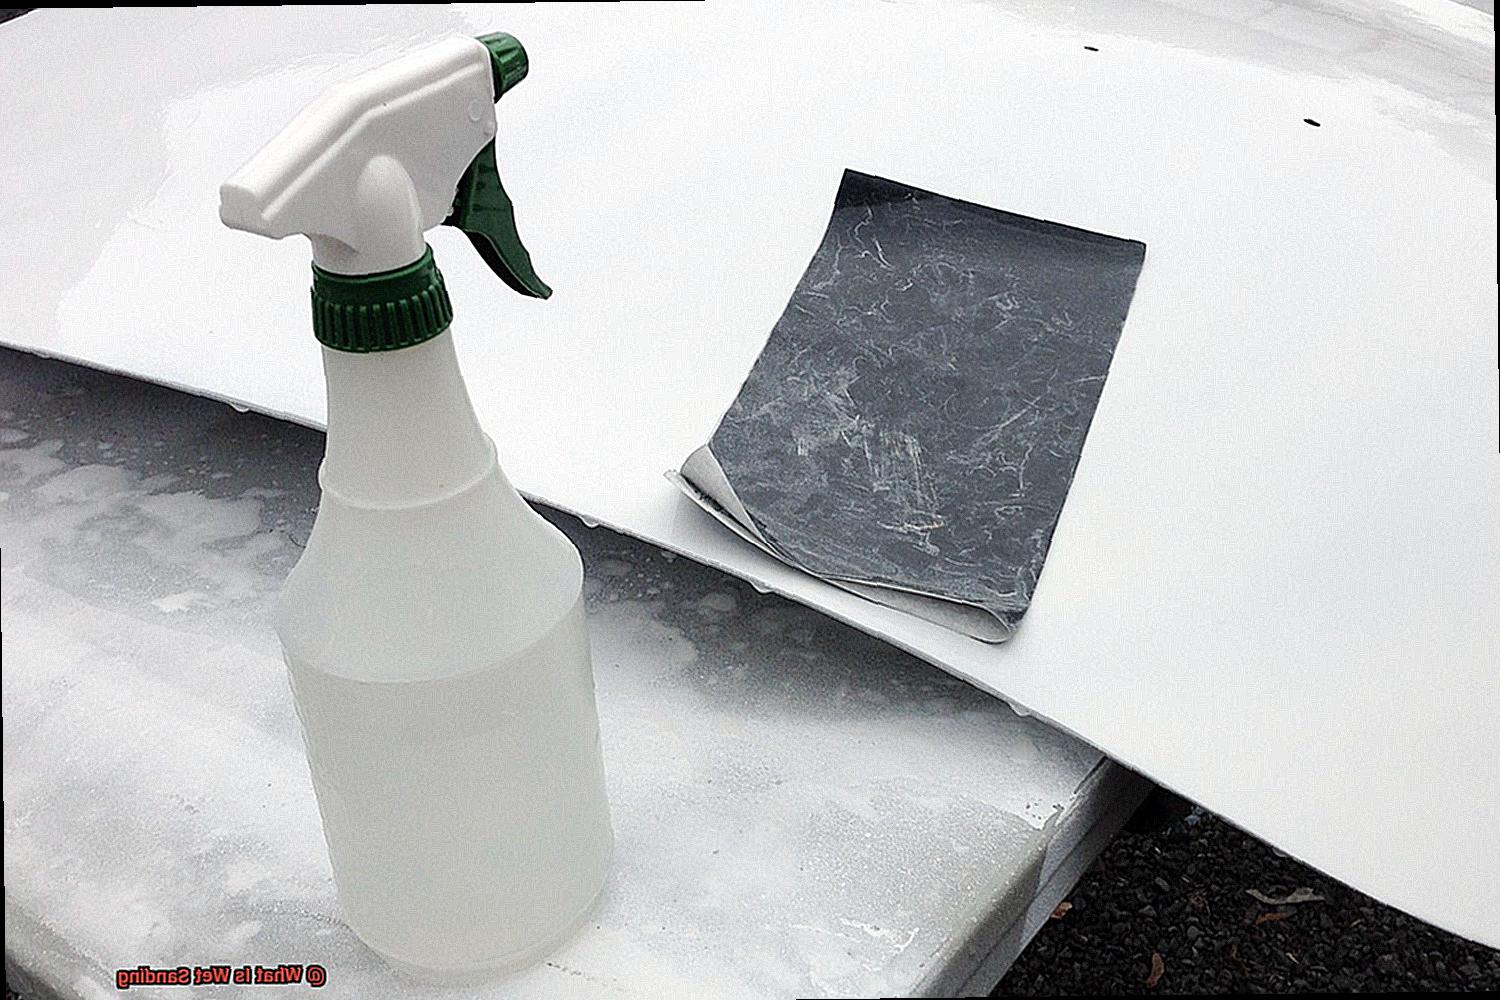
First things first: make sure the surface is clean and free of any dirt or debris. Any impurities can cause scratches or damage during the sanding process. Once the surface is clean, use a spray bottle filled with water to wet the area being sanded.
Next, select sandpaper with a finer grit than what’s typically used for dry sanding. Grits ranging from 600 to 2000 are commonly used for wet sanding. Wrap the sandpaper around a sanding block to provide even pressure and prevent uneven sanding.
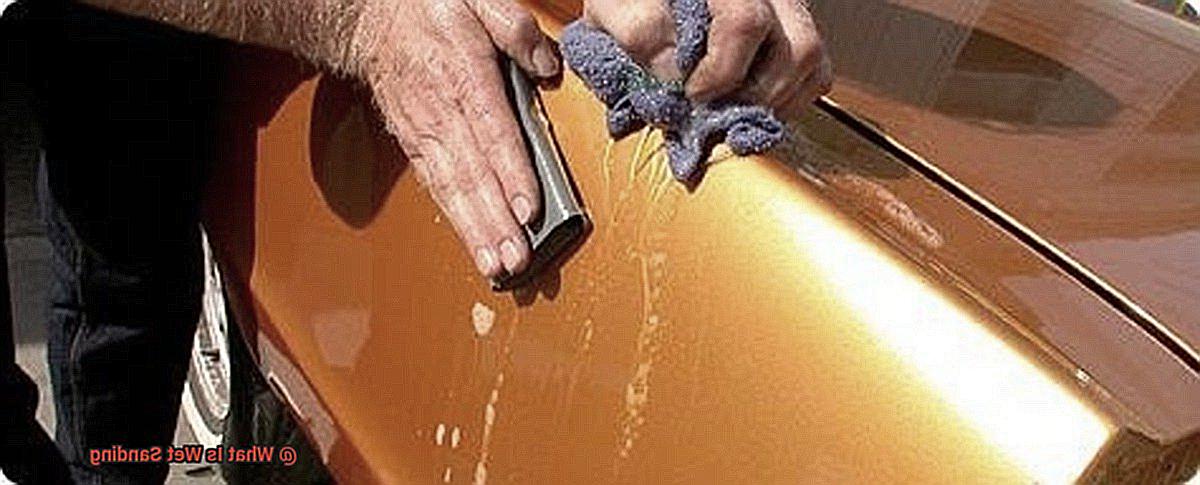
When it comes to sanding, use light pressure and keep the surface wet at all times. Move the sandpaper back and forth in overlapping passes. After each pass, wipe the surface clean with a soft cloth or sponge to remove debris or residue.
The goal is to gradually remove imperfections in the paint, such as orange peel or runs, without damaging underlying layers. Once you’ve achieved your desired level of smoothness, use finer grits for an even smoother finish.
Finally, rinse and dry the surface thoroughly before moving on to polishing and waxing.
Preparing the Surface for Wet Sanding
Wet sanding is a gentle yet effective process that can transform a dull and lackluster finish into a sleek and glassy shine. However, before diving into the wet sanding process, preparing the surface properly is crucial.
Firstly, it’s essential to ensure that the surface is clean and free of any debris or contaminants that could interfere with the sanding process. Using a degreaser or cleaning solution to remove any dirt, oil or grease from the surface is the perfect way to achieve this. This ensures that your sandpaper won’t get clogged with unwanted particles, making it easier for you to get a smooth finish.
The next step is to inspect the surface for any imperfections or damage that may need to be addressed before sanding. Scratches, dents or other blemishes can interfere with the wet sanding process.
Depending on the severity of the damage, additional steps may be required such as filling in with body filler or using a primer to create an even surface. By addressing any imperfections beforehand, you can avoid having them interrupt your wet sanding process.
Once you’ve addressed any imperfections, creating a smooth base for the wet sanding process is essential. Use dry sandpaper between 400-600 grit to remove any rough spots or high spots on the surface. This will allow for a more even and consistent finish when you move on to wet sanding.
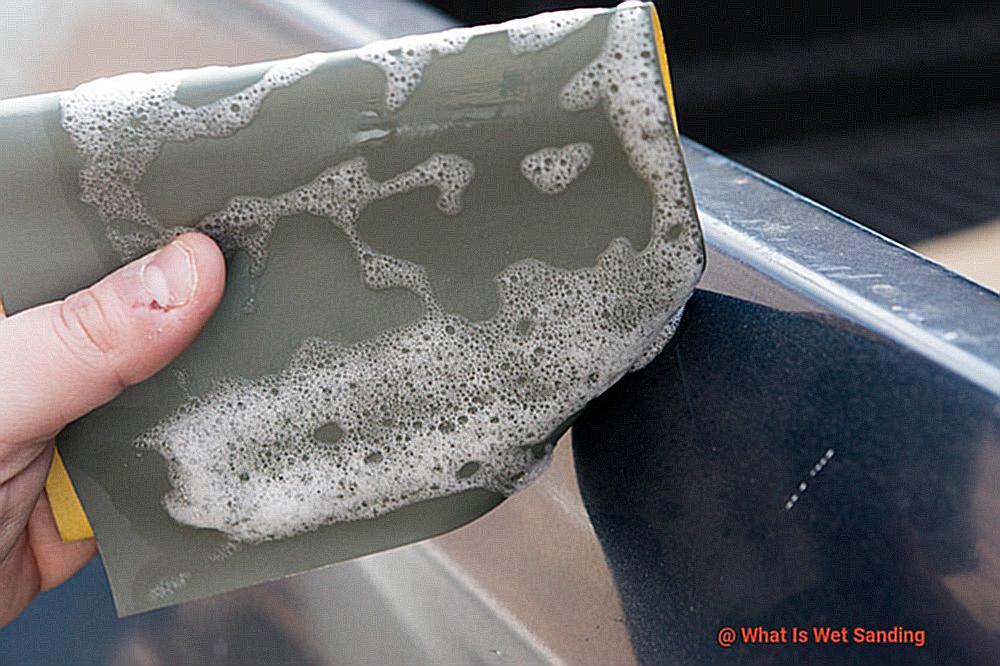
Now it’s time for the main event – wet sanding. Soak your sandpaper in water for several minutes to soften it and prevent clogging during use. Throughout the sanding process, continue rinsing the surface with water to prevent any buildup of debris. Wet sanding allows you to achieve a smoother finish than dry sanding, creating a professional-looking finish.
Tips for Successful Wet Sanding
Wet sanding is the answer, but it can be a delicate process that requires patience and skill. Fear not. We’ve got some tips for successful wet sanding that will help you achieve the desired results.
Choose the Right Sandpaper Grit
The sandpaper grit you use can make all the difference in achieving a smooth finish. Start with a coarse grit, such as 400-800, to remove any heavy imperfections. As you progress, move on to finer grits, like 1000-2000, for a smoother finish. Remember to choose the appropriate grit for the job.
Keep the Surface Wet
Wet sanding requires a wet surface. Water helps reduce friction and prevent the sandpaper from clogging with debris, ultimately achieving a smoother finish. So, keep your surface wet during the entire process to ensure that you don’t damage it.
Use a Sanding Block
Uneven sanding can cause bumps and scratches on your surface. Using a sanding block helps distribute pressure evenly across the surface, ensuring an even finish. Choose a sanding block that is slightly larger than your sandpaper for optimal results.
Sand in Circles
Sanding in circles helps prevent scratches and ensures an even finish. Start with a coarse grit and work your way up to finer grits while maintaining circular motions throughout the process. This technique also ensures that you cover the entire surface evenly.
Tip #5: Check Your Progress Regularly
Check your progress regularly while wet sanding to ensure that you’re achieving the desired results. Use a light source to identify imperfections and make adjustments as necessary. Patience is key in this process, so don’t rush it.
Common Applications for Wet Sanding
If you’re seeking a polished and seamless surface, wet sanding is the technique for you. This versatile method can be applied to various industries and applications, making it a go-to choice for many professionals.
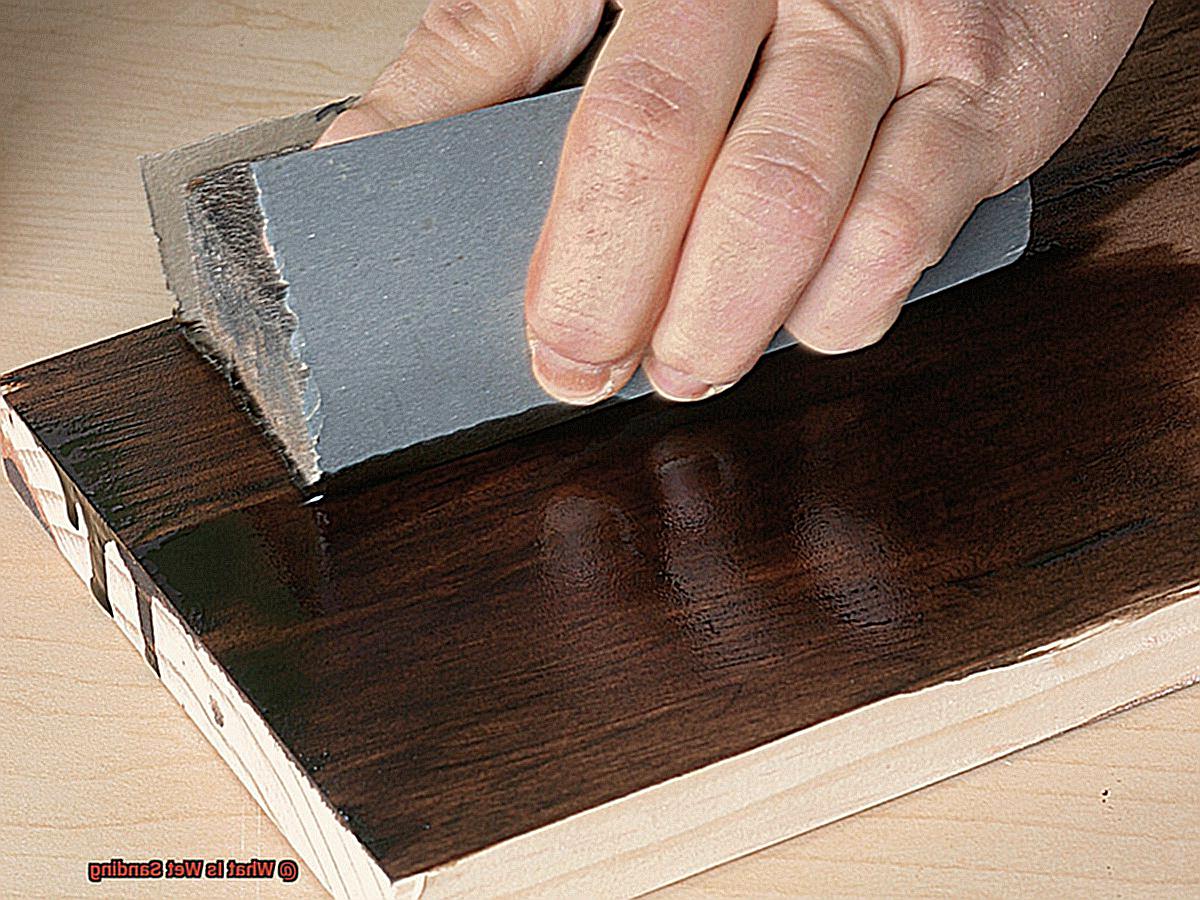
The auto body industry commonly uses wet sanding to remove paint imperfections, restore faded paint, and achieve a smooth finish on vehicles. But did you know that wet sanding is also useful in woodworking? It can help eliminate scratches and blemishes on the surface of the wood while preventing clogging of the sandpaper. This technique is especially helpful before applying paint or varnish to wooden surfaces.
For those in the fiberglass industry, wet sanding is essential for smoothing out rough edges and removing any imperfections in products like boats, pools, and hot tubs. It can also prepare fiberglass surfaces for painting or clear coating.
If you work with metal, wet sanding can help remove rust and other surface contaminants from metals such as stainless steel or aluminum. The technique also assists in achieving a smooth finish on metal surfaces before applying paint or other coatings.
Lastly, wet sanding is a common practice in the construction industry for finishing drywall surfaces. Wet sanding drywall creates a smoother finish and reduces dust particles in the air that may cause respiratory problems.
Overall, whether you’re working with wood, fiberglass, metal, or drywall, wet sanding is a versatile technique that can help achieve a polished finish while reducing wear and tear on your equipment. With the right tools and some patience, you’ll be able to achieve your desired results in no time.
uttPhx_EMq4″ >
Conclusion
In summary, wet sanding is an efficient and effective method for achieving a smooth and flawless finish on a variety of surfaces.
This technique has gained popularity in industries such as automotive, woodworking, glass, metalworking, and construction due to its many advantages over dry sanding.
Wet sanding involves using water to lubricate the surface being sanded, which prevents the abrasive paper from clogging and reduces friction between the surface and the sandpaper. As a result, there are fewer scratches or swirl marks left on the surface being worked on.
Additionally, wet sanding produces less dust than dry sanding, making it a safer option for workers in industries where dust can be hazardous.
To achieve optimal results when wet sanding, selecting the right type of sandpaper is crucial. Depending on the material being sanded and desired outcome, silicon carbide, aluminum oxide, diamond abrasive or specialized options may be used.
Properly preparing the surface before wet sanding is also essential to avoid any imperfections or damage that may interfere with the process.