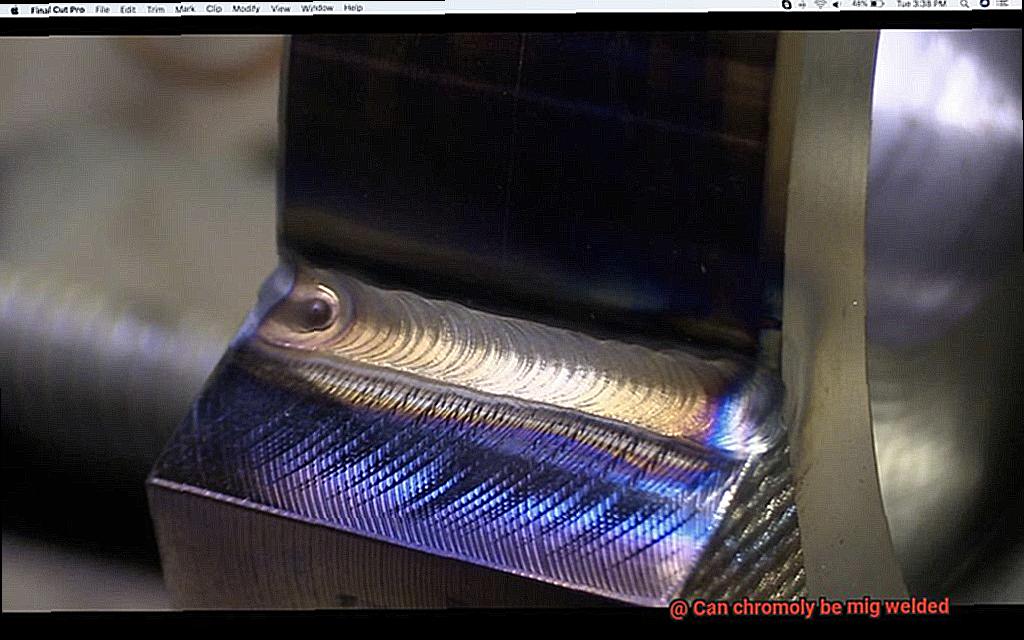
Can chromoly be mig welded
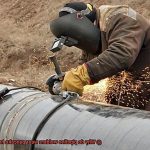
MIG welding is a popular way to join two pieces of metal.
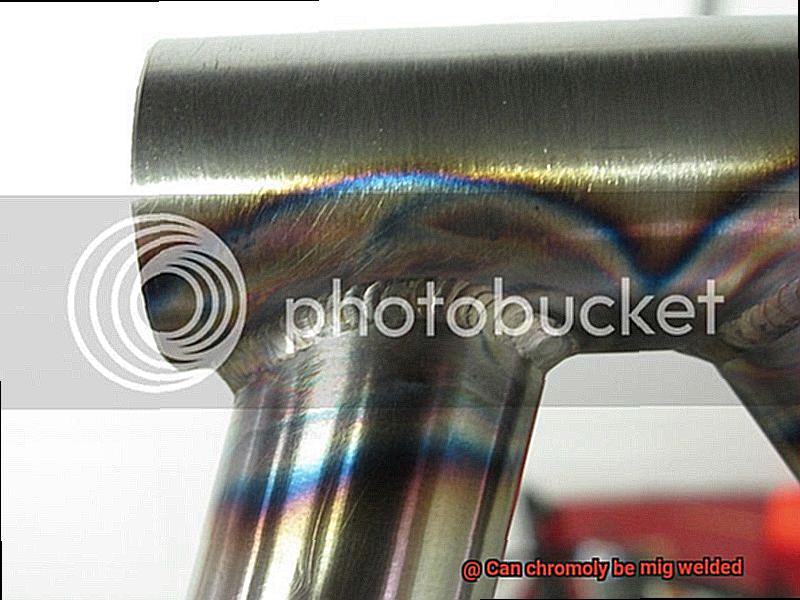
But can it be used on chromoly? Chromoly is a steel alloy that’s becoming increasingly popular for its superior strength and tenacity.
The answer is yes.
Chromoly steel is an iron, carbon, and other component-based material.
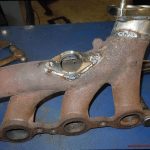
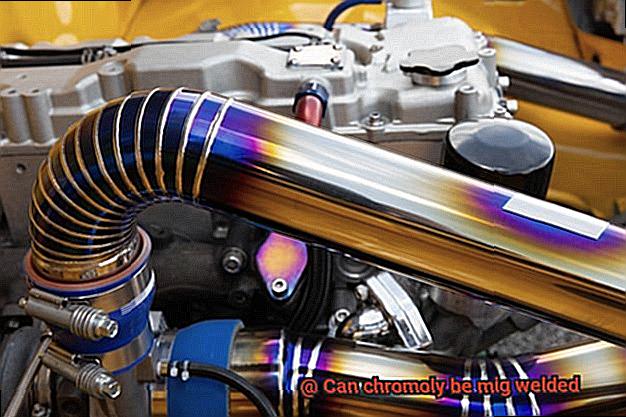
It’s often used in the automotive and aerospace industries for parts such as axles, frames, and suspension components.
Though it isn’t as easy to weld as some other metals, it can be done with the right technique.
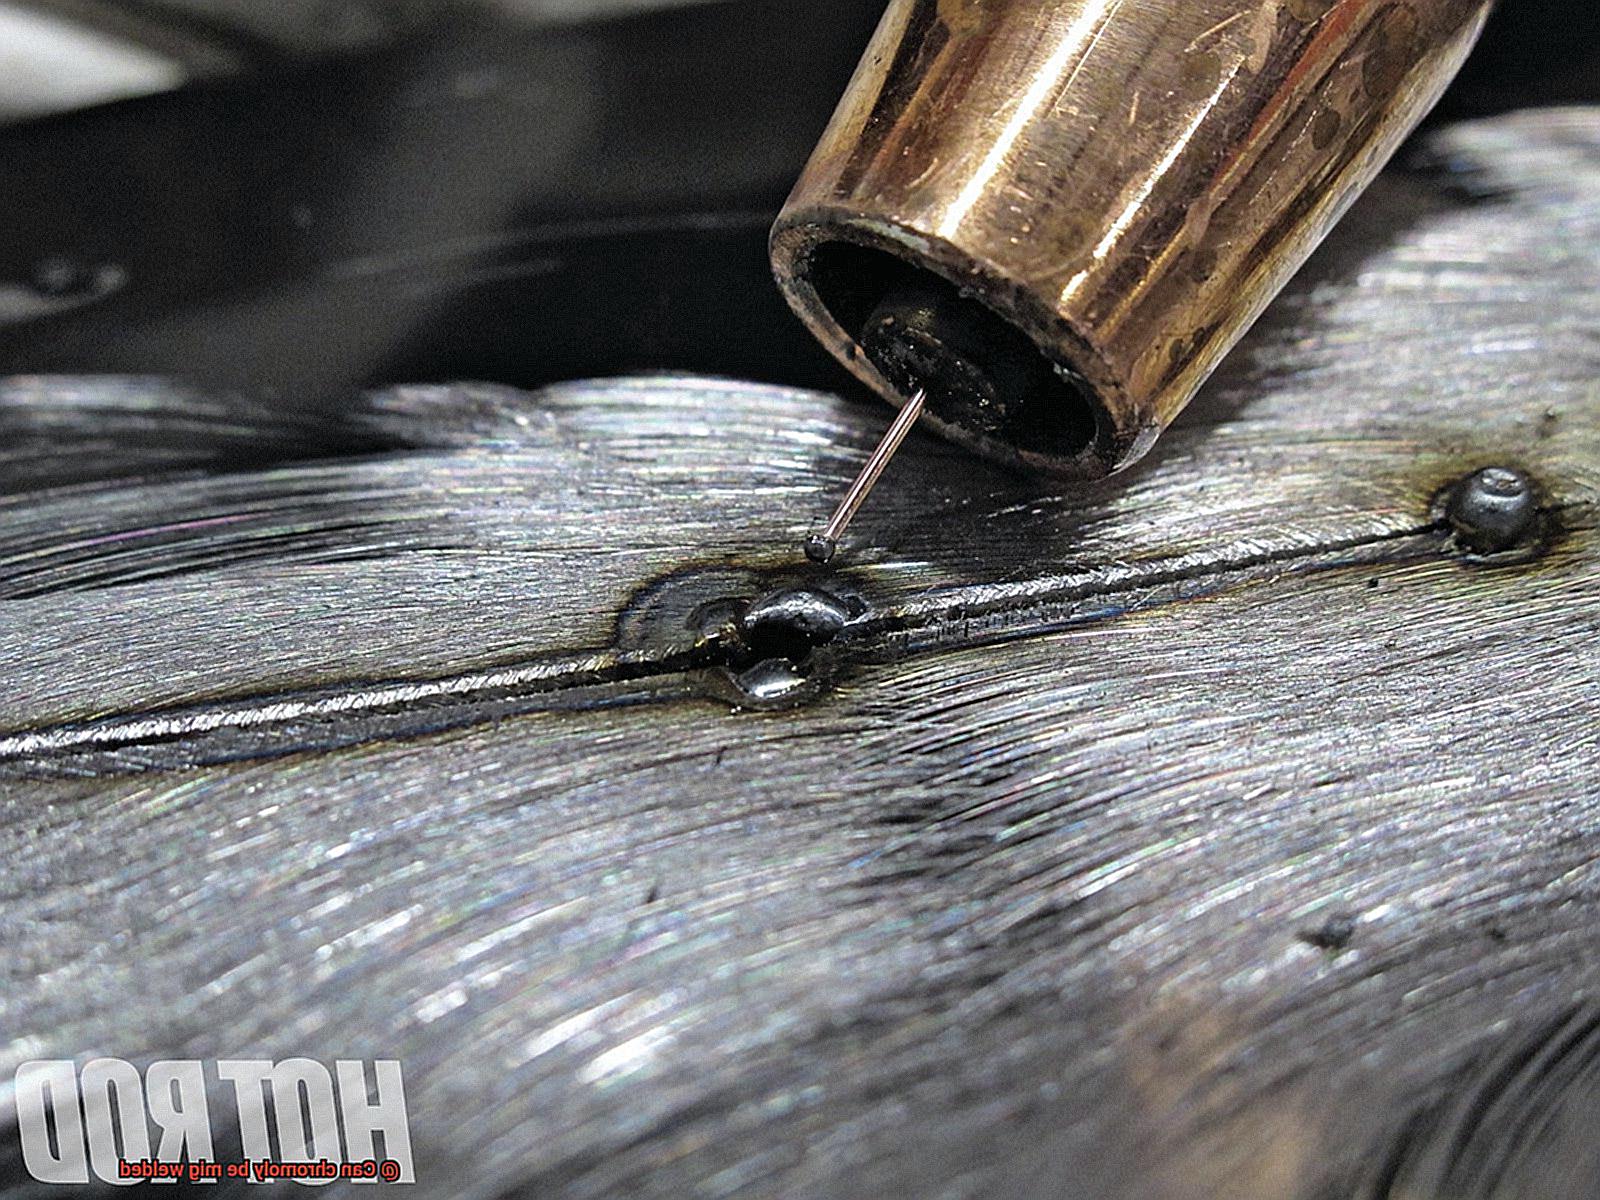
MIG welding is an arc welding process that uses electricity to heat up a wire and then melts into the base metal.
This creates a strong bond between two pieces of metal that can withstand high stress and strain.
MIG welding chromoly steel is often the preferred method due to its speed and ease of use.
Although MIG welding chromoly may seem intimidating at first, it’s actually quite simple once you get the basics down.
In this blog post, we’ll cover everything you need to know about MIG welding chromoly including how to prepare your materials, assemble your machinery, and successfully weld successful welds.
So if you’re looking for advice on how to make MIG weld chromoly steel properly, look no further.
What is Chromoly?
Contents
- 1 What is Chromoly?
- 2 Advantages of Mig Welding Chromoly
- 3 Disadvantages of Mig Welding Chromoly
- 4 What MIG Wire to Use for Chromoly?
- 5 How to Set Up Your Welder for Chromoly Welding?
- 6 Prepping the Metal for Welding
- 7 Step-by-Step Guide on How to Mig Weld Chromoly
- 8 Common Mistakes when Mig Welding Chromoly
- 9 Conclusion
Chromoly is a powerful alloy of chromium and molybdenum that has earned its place as a superhero of metals.
Its strength-to-weight ratio makes it ideal for applications ranging from automobile parts to aircraft parts to bicycle frames.
It’s also highly resistant to corrosion and can withstand extreme temperatures, making it the perfect material for welding projects.
Chromoly’s versatility and durability make it an essential component for racing cars that need to be light but robust, allowing drivers to go faster with confidence.
Advantages of Mig Welding Chromoly
Mig welding chromoly is like a master chef in the kitchen; with just the right ingredients and tools, it’s easy to make a delectable dish that will stand the test of time.
The welding process is incredibly fast, resulting in strong and durable welds that are precise and accurate.
It’s also versatile enough to be used with many types of wire and shielding gases, making it suitable for a variety of applications.
Plus, it’s easy to learn and leaves little spatter or splatter compared to other welding processes.
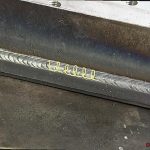
The true star of the show, however, is the quality of welds made by mig welding chromoly.
These welds are highly resistant to corrosion and fatigue, making them ideal for use in high stress applications.
Imagine having a bridge that will last decades without needing service or repairs.
Disadvantages of Mig Welding Chromoly
Mig welding chromoly is a challenging task.
It requires an experienced hand and a steady eye to ensure the metal isn’t overheated, as this can lead to cracking or warping.
Special equipment and consumables are also necessary, like MIG wire specifically designed for chromoly.
The high temperatures and need to maintain a constant arc make it difficult to keep good welds on chromoly.
Additionally, the process produces a lot of spatter, which is similar to confetti at a party – it’s virtually impossible to clean up.
What MIG Wire to Use for Chromoly?
MIG welding chromoly is a delicate art, like a game of chess.
To make sure you have a durable, quality weld, you must choose the right wire.
The best option for MIG welding chromoly is ER70S-6, which is a copper-coated steel alloy wire that offers excellent weldability and strength with minimal spatter.
If you’re looking for increased weldability with mild steel wire, ER70S-3 is the way to go.
However, it may produce more spatter than the ER70S-If you’re looking for superior corrosion resistance and strength in your welds, stainless steel wires such as 308L or 309L are perfect for MIG welding chromoly.
Although they come at a higher price tag, these wires will provide superior security and durability in the long run.
How to Set Up Your Welder for Chromoly Welding?
Welding chromoly can be a challenging task, especially for those new to the art of welding.
But with the right equipment and experience, you’ll be able to master it in no time.
It’s essential to know what kind of welder you need and how to set it up properly.
Here’s a comprehensive guide on setting up your welder for chromoly welding.
Choosing the Right Welder
When it comes to welding chromoly alloys, choosing the right kind of welder is key.
For thin sheets of chromoly, a MIG welder is recommended, while thicker pieces should be welded with a TIG welder.
Make sure your welder has enough electricity (a minimum of 180 amps) but not too much (a maximum of 250 amps).
This will ensure that your welds are solid and free of defects without causing too much heat, which may damage your workpiece or cause spatter problems.
Additionally, select a machine that has settings specifically developed for aluminum or stainless steel welding when using a MIG Welder with chromoly materials as this will help improve penetration into the material being welded and minimize spatter even more.
Adjusting Voltage and Wire Feed Speed
It’s time to change your welder’s settings so they can be optimized for welding chrome molly materials safely and efficiently.
The voltage should be adjusted between 15 and 25 volts depending on the thickness of the material being welded – 15 volts for thin sheets and 25 volts for thicker pieces – while the wire feed speed should also be adjusted accordingly.
Using the Right Gas Mix
When welding chromoly with a MIG welder, it’s important to use the correct gas mix as well.
Argon/CO2 or 100% CO2 is recommended for most applications when using a MIG welder with chromoly materials..
Additionally, make sure you use a shielding gas nozzle specifically designed for aluminum or stainless steel welding as this will help improve penetration into the material being welded and minimize spatter even more.
Adjusting Arc Length
Finally, adjust the arc length to ensure proper penetration into your workpiece and reduce spatter as much as possible during your welding process..
This will guarantee that your welds are strong and free of defects while minimizing any potential damage caused by excessive heat or spatter problems during welding operations.
Prepping the Metal for Welding
Welding is an art that requires skill, precision and expertise.
Before you can begin to weld, it’s essential to prepare the metal for welding.
This important step ensures that your welds will be strong and durable.
Think of prepping the metal like preparing a canvas for painting.
You wouldn’t want to paint on a dirty or rusty surface, so make sure the metal is clean and free of any dirt, oil or grease before welding.
To do this, use a grinding device to remove any rust or paint that may be present on the metal’s surface.
Once the metal is ready for welding, it’s time to clamp it down securely so that it doesn’t move during the process.
Any misalignment of pieces could result in weak spots in your welds and cause potential problems later on.
Taking care to align the pieces correctly also gives your welds a neat and uniform finish when you’re done welding.
Prepping the metal for welding is an essential part of creating strong welds and beautiful works of art.
Step-by-Step Guide on How to Mig Weld Chromoly
MIG welding chromoly is an efficient and reliable way to join two pieces of metal.
Not only is it strong and durable, but it can also be completed quickly with the right technique.
Here’s a step-by-step guide to help you get started on your next project.
Safety first. Make sure you have all the necessary protective gear, such as a welding helmet and gloves.
Additionally, set up your welding machine properly and prepare the metal parts for welding.
Once everything is in place, you’re ready to start MIG welding chromoly.
When it comes to MIG welding chromoly, it’s important to select the correct amperage and wire speed.
Additionally, maintain a consistent arc length and use a weaving pattern when needed.
Doing so will ensure robust welds that are free of defects.
Don’t forget to clean up after your welds by removing any slag or spatter that was created during the process.
Finally, check your work for any flaws or imperfections before you call it a day.
Common Mistakes when Mig Welding Chromoly
Mig welding Chromoly can be a daunting task if you’re not aware of the common mistakes to avoid.
It’s like trying to build a house without the right tools – time will not stand up to the test of time.
To ensure success, it’s important to select the right type of MIG wire, set the amperage correctly, preheat the metal before welding, use proper shielding gas, clean the metal properly before welding and allow enough time for cooling after welding.
The first step is selecting an appropriate MIG wire for your project; otherwise, your welds may be weak and prone to cracking.
Setting the amperage correctly is also vital
if it’s too low, your welds won’t penetrate deeply enough into the metal and won’t be as robust as they should be.
Preheating helps reduce warping and discoloration in your welds so it’s important to do this step properly.
Additionally, make sure you choose the right shielding gas; it helps shield your weld from contamination and oxidation which are key elements of a successful weld.
Before welding Chromoly, make sure you clean off any dirt or rubble on its surface that could weaken your welds or cause them to crack later on down the road.
Lastly, allow enough time for cooling after welding: this will help keep your welds strong and durable for years to come.
Conclusion
MIG welding chromoly is a great way to join two pieces of metal and create strong, long-lasting welds.
To get the most out of your project, you’ll need the right equipment, tools, and consumables.
With this guide, you’ll be able to select the appropriate MIG wire for your project, adjust welder settings as needed, use the correct shielding gas mix, preheat the metal before welding and allot ample time for cooling after welding.