Have you ever found yourself frustrated by a seemingly simple soldering project gone awry?
Maybe your soldering iron was too hot, or not hot enough. If you’ve experienced this, then it’s time to learn how to check your soldering iron temperature.
As someone who has spent countless hours perfecting the art of soldering, I can tell you that monitoring your iron’s temperature is essential for success. If you neglect to check the temperature of your soldering iron, you run the risk of damaging electronic components or melting solder beyond its melting point.
This can lead to weak joints and a ruined project. That’s why it’s crucial to use the right tools and techniques to measure your iron’s temperature accurately.
In this blog post, I’ll walk you through various methods for checking your soldering iron temperature. From using a thermometer or temperature-controlled soldering iron to performing a simple water boiling test, I’ll cover everything you need to know.
So, let’s dive in now.
Why Is Temperature Control Important for Soldering?
Contents
- 1 Why Is Temperature Control Important for Soldering?
- 2 Using a Thermometer to Check the Temperature of a Soldering Iron
- 3 Using Thermal Paste/Compound to Check the Temperature of a Soldering Iron
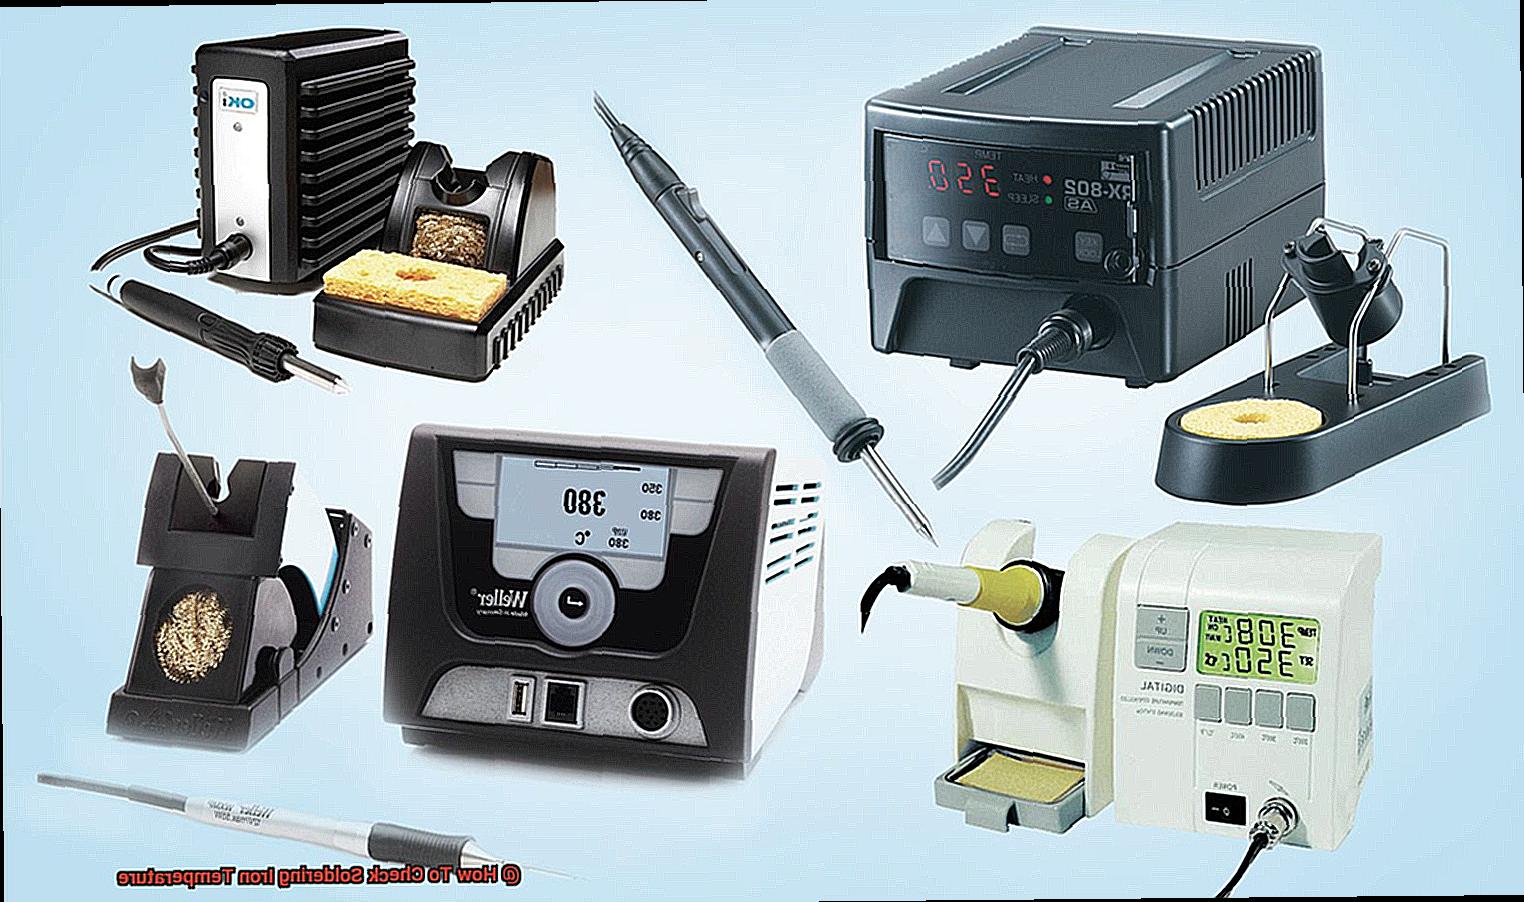
- 4 Checking Temperature with Built-in Systems on Some Soldering Irons
- 5 Choosing an Accurate, Reliable and Easy-to-Use Method for Checking Temperature
- 6 Conclusion
When it comes to soldering, temperature control is the key to success.
If you’re wanting to achieve a reliable and strong joint, temperature control should be at the forefront of your mind. Why is temperature control so important for soldering?
Well, it all comes down to the chemical reactions that occur during the soldering process. If the temperature is too low, the solder will not melt properly, leading to a weak joint that can fail over time.
Conversely, if the temperature is too high, the solder and surrounding materials can become damaged or even melted, resulting in a faulty joint or damage to the components being soldered. Different solders have different melting points.
Therefore, the temperature needs to be adjusted accordingly. For example, lead-free solders typically have higher melting points than traditional lead-based solders.
Consistency is another crucial factor in achieving high-quality solder joints. Maintaining proper temperature control helps to ensure consistency across multiple joints.
This is essential for producing reliable work. By keeping a consistent temperature, the solder can be applied evenly and consistently across all joints.
So, how do you check your soldering iron’s temperature? There are several methods available – thermometers, thermal paste/compound, or built-in temperature control systems.
Whatever method you choose, ensure it’s accurate and reliable. Overall, proper temperature control during soldering is essential for achieving strong and reliable joints.
Use a temperature-controlled soldering iron and monitor the temperature throughout the process to ensure that your work will withstand the test of time.
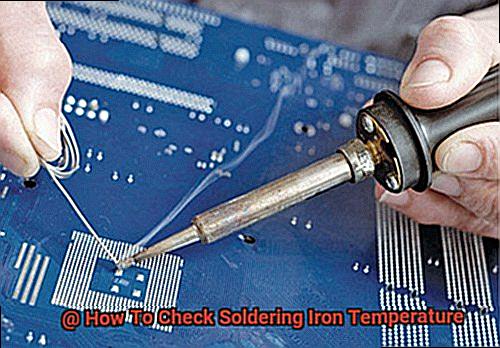
Using a Thermometer to Check the Temperature of a Soldering Iron
Achieving a strong and reliable solder joint is not as simple as it may seem.
Temperature control is the key ingredient, much like baking a perfect cake. And just as you wouldn’t attempt to bake without a thermometer, it’s important to use a thermometer to check the temperature of your soldering iron.
The most accurate way to determine the heat level of your soldering iron is by using a thermometer. There are different types of thermometers available, but the most commonly used one for soldering is a digital thermometer with a K-type thermocouple.
This type of thermometer can measure temperatures up to 1000°C and provides quick and accurate readings. To use a thermometer, first make sure your soldering iron has been heating up for at least five minutes.
This ensures that it has reached its maximum temperature. Next, attach the thermocouple to the tip of the soldering iron using either a clip or tape.
It’s important to ensure that the thermocouple is in direct contact with the tip of the soldering iron and that there is no gap between them. Once you’ve attached the thermocouple to your soldering iron, turn on your thermometer and select the temperature measuring mode.
Insert the thermocouple plug into the thermometer’s input jack and wait for the reading to stabilize. The thermometer will display the current temperature of the soldering iron in Celsius or Fahrenheit units.
It’s crucial to adjust the temperature of your soldering iron based on the type of solder being used. Different types of solder require different temperatures for proper melting and bonding.
A temperature chart can be helpful in determining the appropriate temperature range for different types of solder. Using a thermometer to check the temperature of your soldering iron is an accurate method that can help ensure proper soldering results.
It’s essential to invest in a good-quality thermometer and follow proper procedures when using it. By doing so, you can achieve consistent and reliable solder joints that will withstand the test of time.
So, temperature control is the key to achieving strong and reliable solder joints. Using a thermometer to check the temperature of your soldering iron is an accurate and essential method that can help ensure proper soldering results.
Using Thermal Paste/Compound to Check the Temperature of a Soldering Iron
Using thermal paste/compound is a highly effective way to monitor the temperature of your iron. In this post, I’ll explain the steps you need to take to use this method effectively and get flawless solder joints every time.
Firstly, it’s crucial to ensure that the tip of your soldering iron is clean and free from any debris or old solder.
Once you’ve done this, apply a small amount of thermal paste/compound to the tip of the iron.
Spread it evenly over the surface of the tip using a cotton swab or your fingers. Don’t worry about using too much – just enough to coat the tip.
Next, turn on the soldering iron and wait for it to heat up to its maximum temperature. As the thermal compound heats up, it will change color, indicating the temperature of the iron.
Different brands of thermal compound may have different color indicators, so make sure you read the instructions carefully. Once you’ve determined the temperature of your soldering iron using thermal paste/compound, you can adjust the temperature as needed.
If it’s too low, increase it until you reach the desired temperature. If it’s too high, wait for it to cool down before adjusting.
It’s worth noting that while using thermal paste/compound can be a highly effective way to check the temperature of your soldering iron, it’s not always necessary. Many modern soldering irons come with built-in temperature control systems that make it easy to adjust and monitor the temperature throughout your work session.
However, if you prefer a more hands-on approach or if your soldering iron doesn’t have built-in temperature control, using thermal paste/compound can be an incredibly useful tool in ensuring that your soldering work is done at the appropriate temperature.
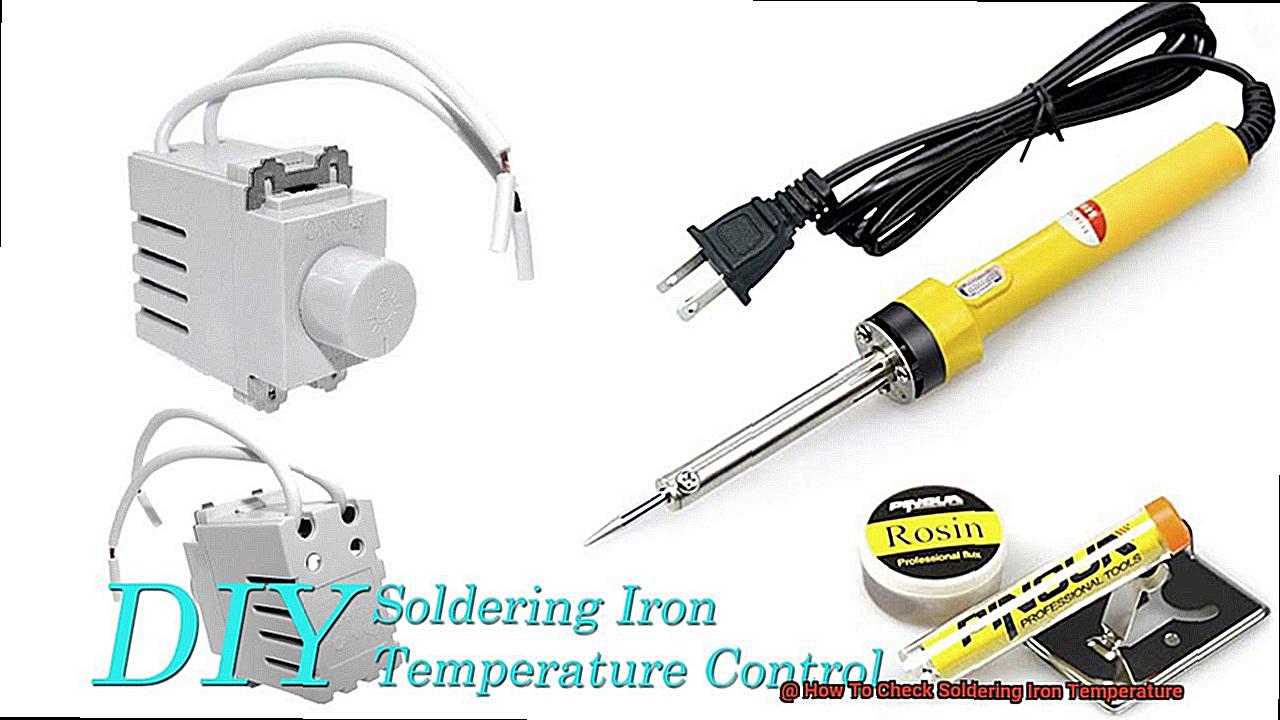
Checking Temperature with Built-in Systems on Some Soldering Irons
One way to ensure this is by using soldering irons that come with built-in temperature control systems.
To begin with, turn on the soldering iron and allow it to heat up to the desired temperature range.
Once it reaches that range, the built-in system will maintain it throughout the soldering process. To verify if the iron has reached its correct temperature, use a temperature probe or thermometer.
Place the probe near the tip of the soldering iron and let it sit for a few seconds to get an accurate reading. While some soldering irons come with LED displays that show the current temperature range, it’s still important to manually check the temperature using a thermometer or probe for optimal results.
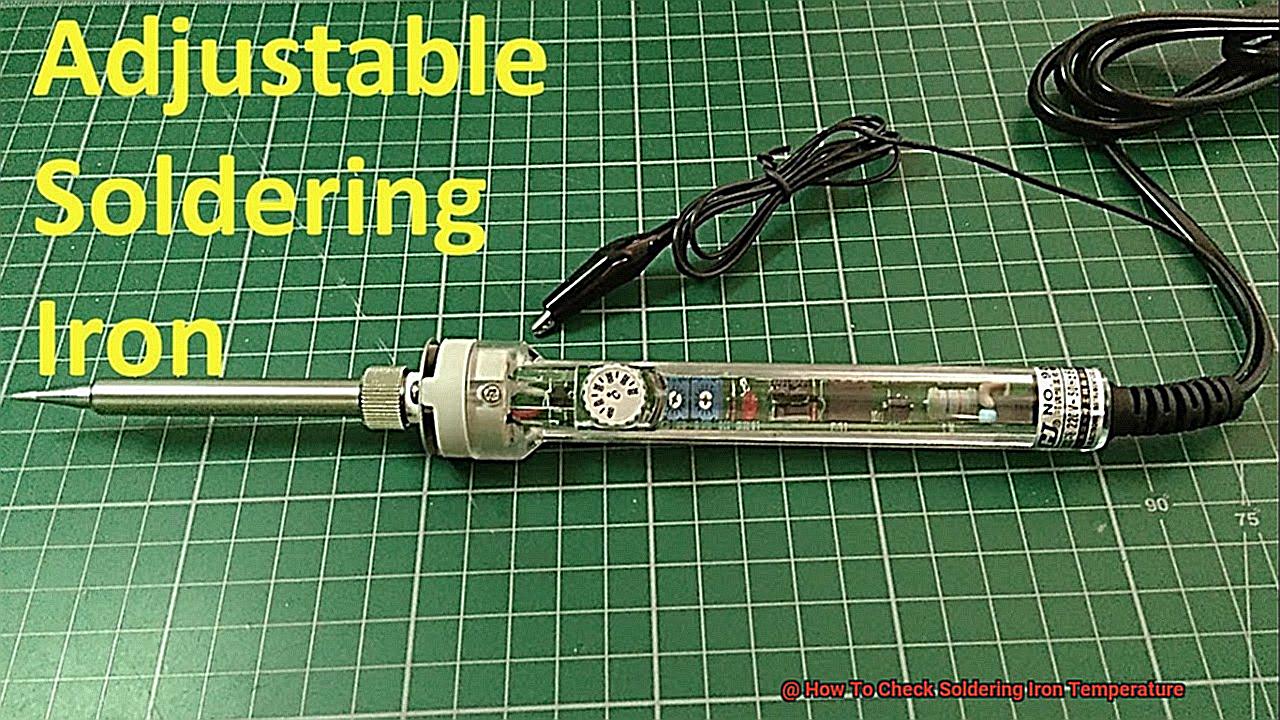
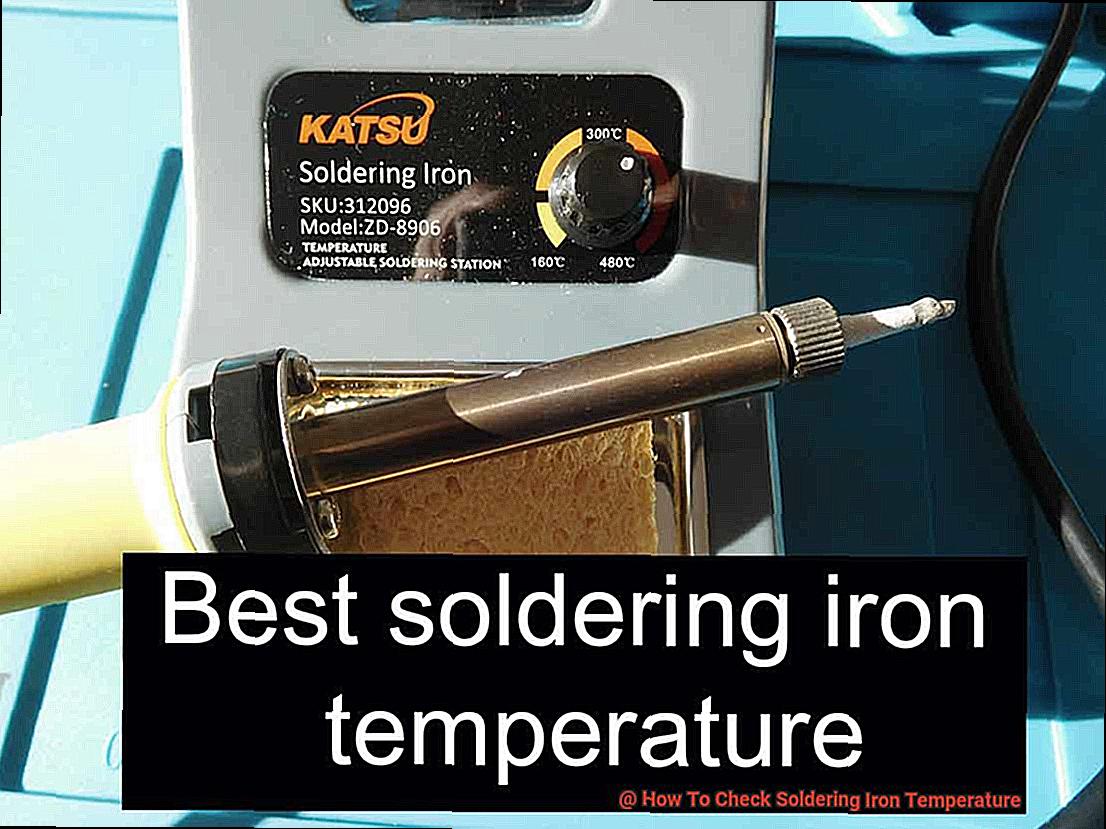
It’s worth noting that not all soldering irons come with built-in temperature control systems. In such cases, users need to adjust the temperature manually using a dial or knob.
To check the temperature manually, use a thermometer or probe as mentioned earlier. By checking your soldering iron’s temperature, you can achieve high-quality soldering work every time.
Whether your iron comes with a built-in system or not, knowing how to check and maintain the correct temperature range is essential for optimal results.
Choosing an Accurate, Reliable and Easy-to-Use Method for Checking Temperature
If you’re serious about soldering, then you know that maintaining the right temperature is crucial for quality results.
With several methods available, how do you choose an accurate, reliable and easy-to-use method for checking temperature? Let’s explore three popular methods for checking temperature and their pros and cons.
Digital Multimeter
First up is the digital multimeter with a temperature probe. This method is top-notch in terms of accuracy and reliability since it measures the temperature at the tip of the soldering iron directly. It also allows for precise temperature control, which is essential when working with delicate components. However, it can be a bit pricey and may require some technical know-how to use effectively.
An Infrared Thermometer
The second method is using an infrared thermometer. This method is convenient and non-invasive, as it measures the temperature without touching the soldering iron.
It’s also quick to use and can cover larger work areas from a distance, making it ideal for big projects. However, this method may not provide as accurate readings as using a temperature probe.
Using A Temperature Indicator Strip
The third method is using a temperature indicator strip. This method is budget-friendly and straightforward to use since you attach a strip onto the soldering iron tip and read the color change to determine the temperature.
However, it may not be suitable for more precise work since it may not provide accurate readings. Ultimately, your choice of which method to use depends on your personal preferences, budget, and desired level of accuracy.
But one thing is clear: investing in a quality tool for checking soldering iron temperature is crucial for optimal performance and safety. In conclusion, finding an accurate, reliable, and easy-to-use method for checking temperature when soldering is vital for producing top-quality results.
Whether you prefer using a digital multimeter with a temperature probe, an infrared thermometer or a temperature indicator strip, make sure to invest in a quality tool that suits your needs to ensure optimal performance and safety.
8mP9StSSlkM” >
Conclusion
To wrap it up, ensuring that your soldering iron is at the right temperature is vital for creating durable and solid joints that will endure the test of time.
Temperature control plays a crucial role in soldering since it affects the chemical reactions that take place during the process. If the temperature is too low, the solder won’t melt correctly, leading to fragile joints that can fail eventually.
Conversely, if the temperature is too high, you run the risk of damaging electronic components or melting solder beyond its melting point. Fortunately, there are several methods available for checking your soldering iron’s temperature, including using a thermometer, thermal paste/compound or built-in temperature control systems.
The most precise way to determine your iron’s heat level is by using a thermometer with a K-type thermocouple. However, modern soldering irons come with built-in temperature control systems that make it easy to adjust and monitor the temperature throughout your work session.
Ultimately, selecting an accurate, reliable and user-friendly method for checking your soldering iron’s temperature depends on your personal preferences, budget and desired level of accuracy.
Regardless of which method you choose, investing in a quality tool for checking soldering iron temperature is essential for optimal performance and safety.